I had been waiting for a new little Reolink for a while, and here it is, the Argus MagiCam (yes, “Magic” plus “Cam”, we’ll see right away if the magic works). Reolink and I have been working together for almost three years, and personally, I’ve always had a soft spot for their tiny cameras, the ones you slip into the camper without a second thought.
Argus MagiCam promo code
 In stock
Argus MagiCam
CARO51*
*Verified price on 9 June 2026. The final price may vary.
Why this camera spoke to me right away
So, a little backstory. I used to roll with an Argus 2E in the camper, and believe it or not, it’s still there, faithfully on duty. For me, it was the perfect camera for this use, small, autonomous, you forget about it and it works. I also had a big crush on the Argus 3 Pro, in the same spirit.
Then those two disappeared from the catalog, and the next generations seemed to get a bit bulkier each time, still usable in a van, but clearly designed to be mounted on the wall of a house. So naturally, when I saw a MagiCam that returns to the truly compact format, I wanted to dive back in.
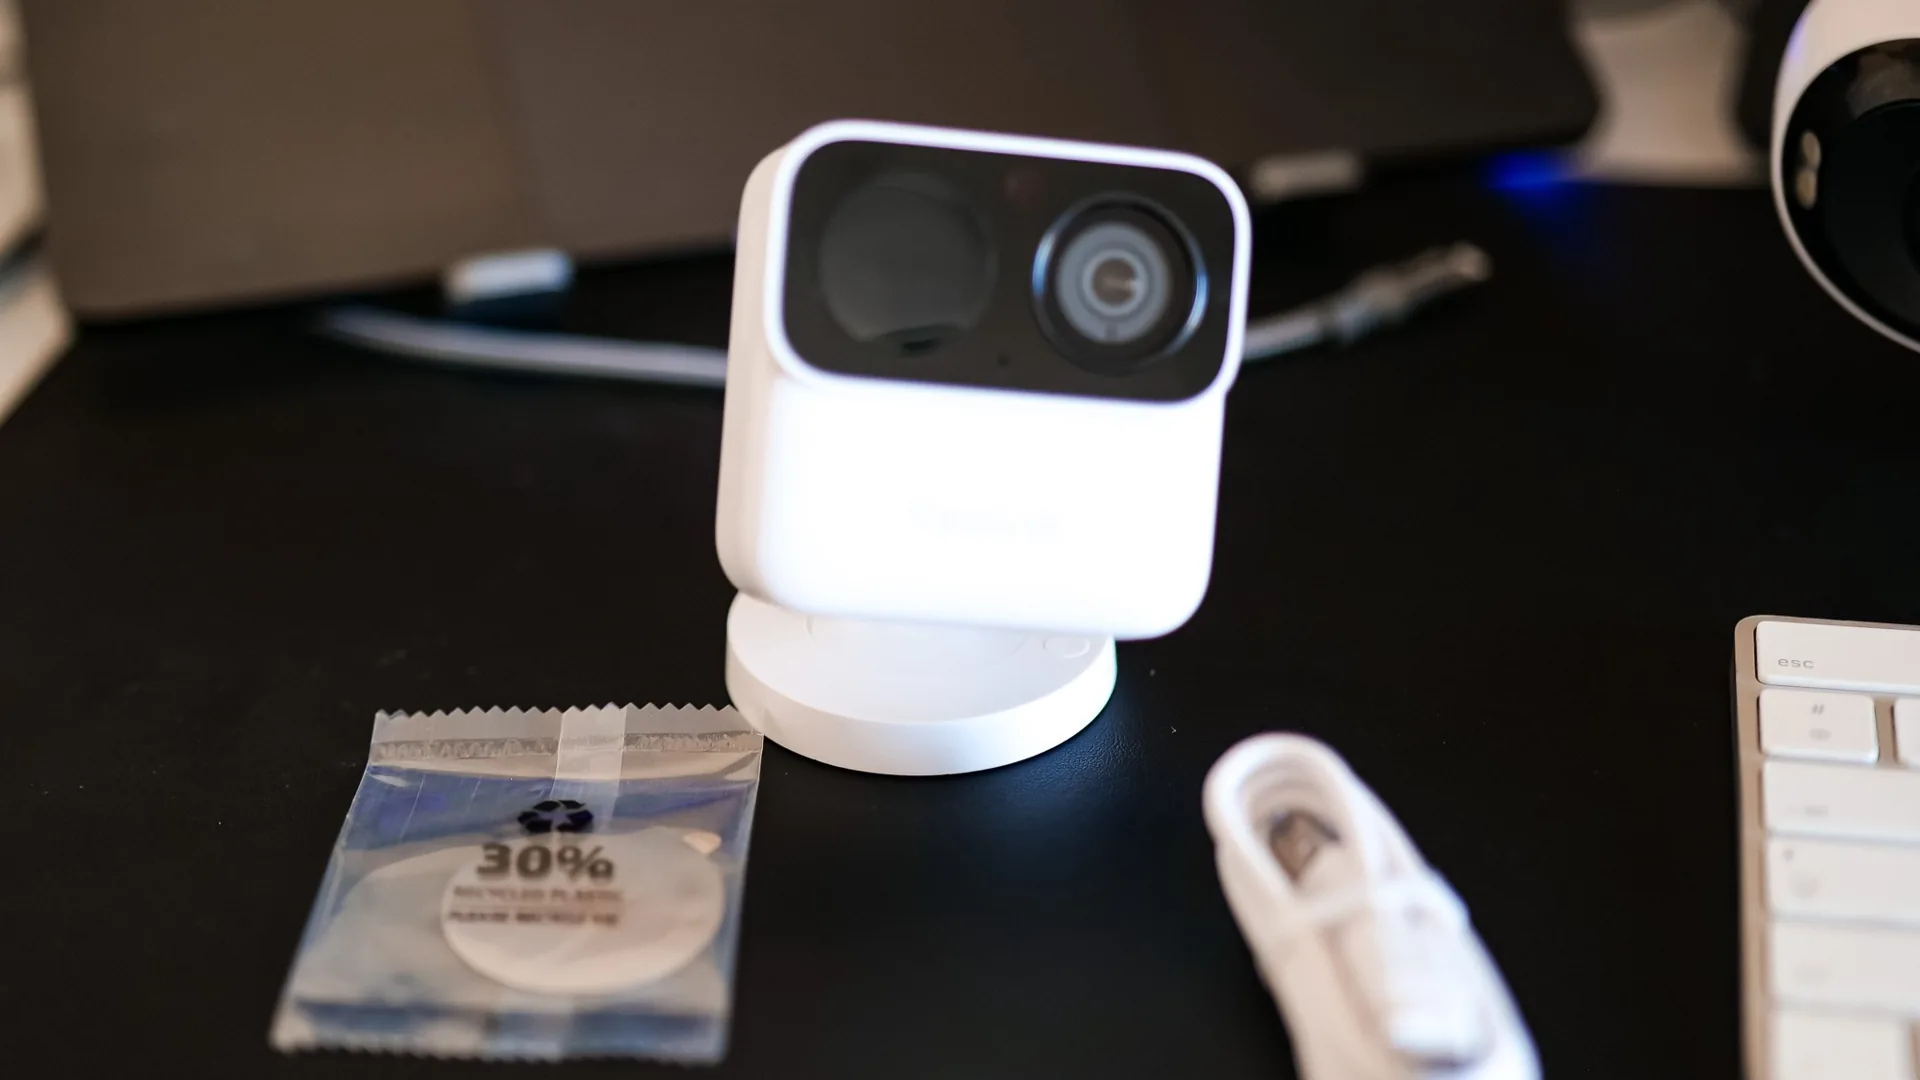
Unboxing: but it’s tiny
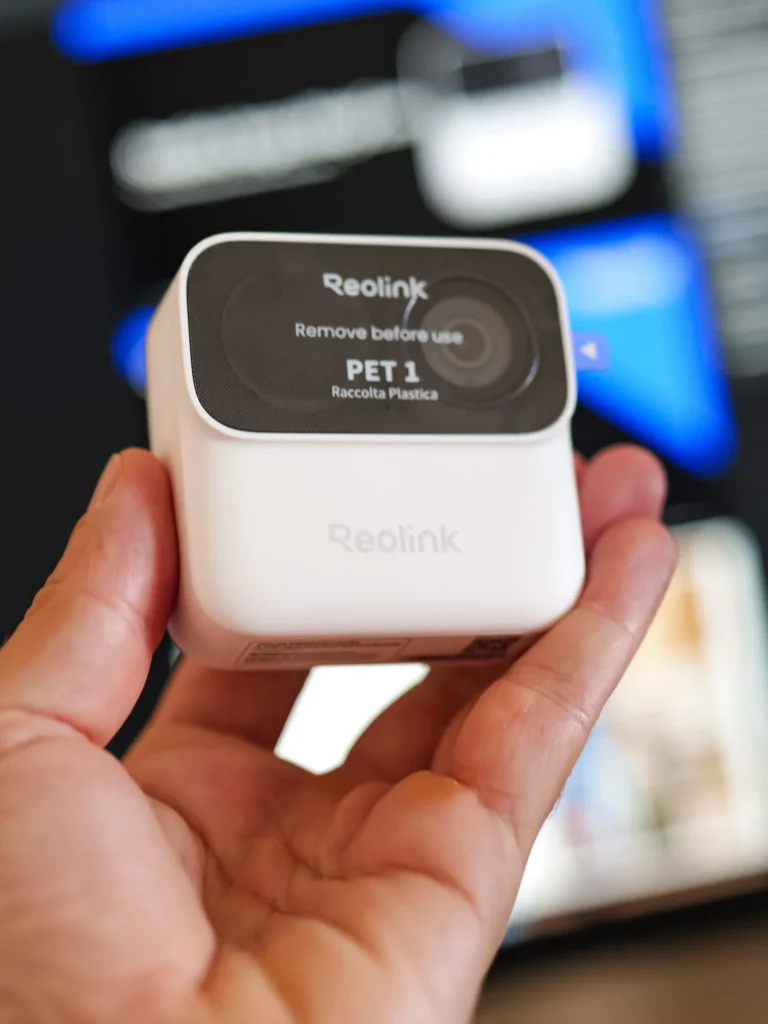
The first shock upon opening the package was the box. It’s tiny, almost as small as some cameras I had received in the past. And when I took the device out, I really felt like I was holding an action camera, like a GoPro, Insta360, or DJI. For a few seconds, I even wondered if Reolink had sent the wrong box (no, it was indeed a surveillance camera, but wow, is it small).

The photo speaks for itself; I placed it next to an Argus 4 Pro to give you an idea, and you immediately understand which weight category we’re playing in.
Argus MagiCam vs Argus 3 Pro vs Argus 3 Ultra
£42,49
See the product
|
£61,74
See the product
|
£80,74
See the product
|
|
|---|---|---|---|
| Net Weight | 0.11 kg (0.24 lb) | 0.33 kg (0.73 lb) | 0.34 kg (0.74 lb) |
| Dimensions | 68.00 mm (2.68 in) | 121.00 mm (4.76 in) | 127.00 mm (5.00 in) |
| Application | ✓ | ✓ | ✓ |
| Warranty | 2.00 an | 2.00 an | 2.00 an |
| Noise | - | - | - |
| Life Cycles | - | - | - |
| Operating Temperature | -10~55 | -10°C to 55°C | -10°C~+55°C |
| Waterproof Rating | 67.00 % | 65.00 % | 65.00 % |
| Horizontal Field of View | 113.30 | 105.00 | 105.00 |
| Vertical Field of View | 62.70 | 55.00 | 55.00 |
| Diagonal Field of View | 132.00 | - | 125.00 |
| Capacity | - | 22.20 Wh | 21.60 Wh |
| LED Lighting | - | ✓ | - |
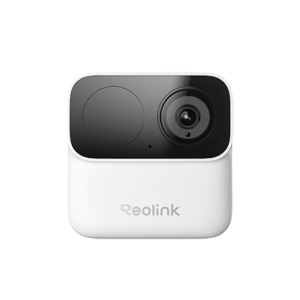
A little robot from Reolink
Despite its little action cam look, you immediately recognize the Reolink touch. I don’t know if it’s just me, but I think their cameras have a real personality; it’s like they have eyes, a mouth, a face. I always see them as little robots observing their surroundings, almost wanting to say hello.
By the way, one point I wanted to clarify, because it made me hesitate for a second, the MagiCam has only one lens. The big black circle next to it is not a second lens; it’s the motion sensor (the PIR) and the infrared LED for night vision. There, now that’s clear.
The owner’s tour
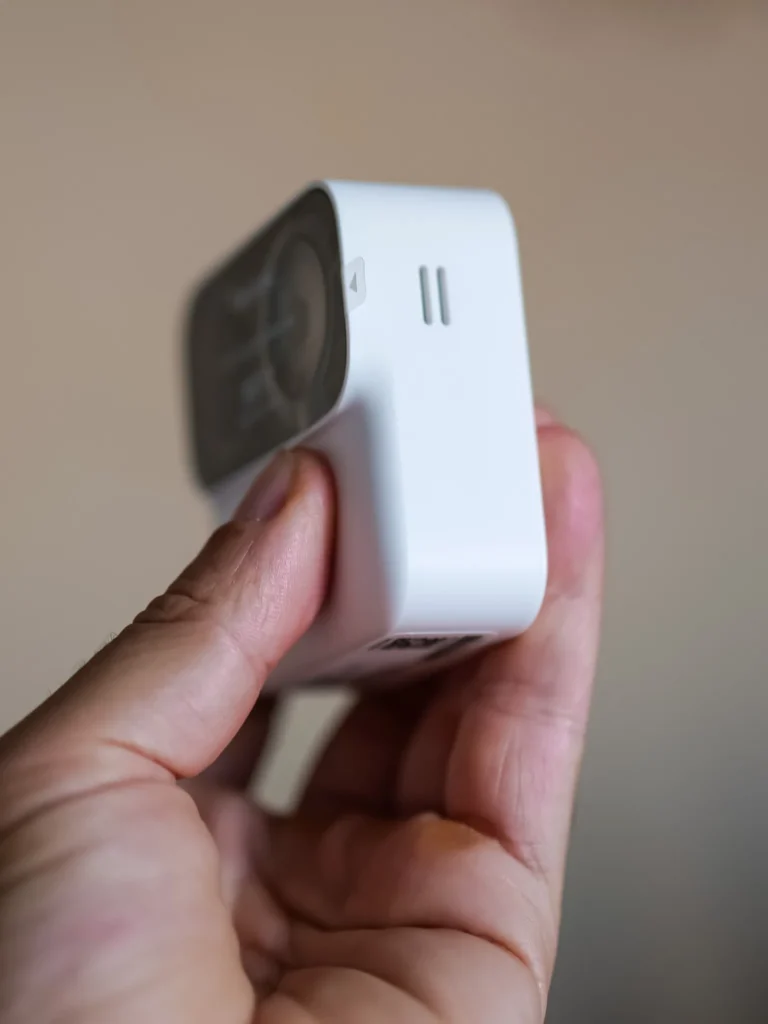
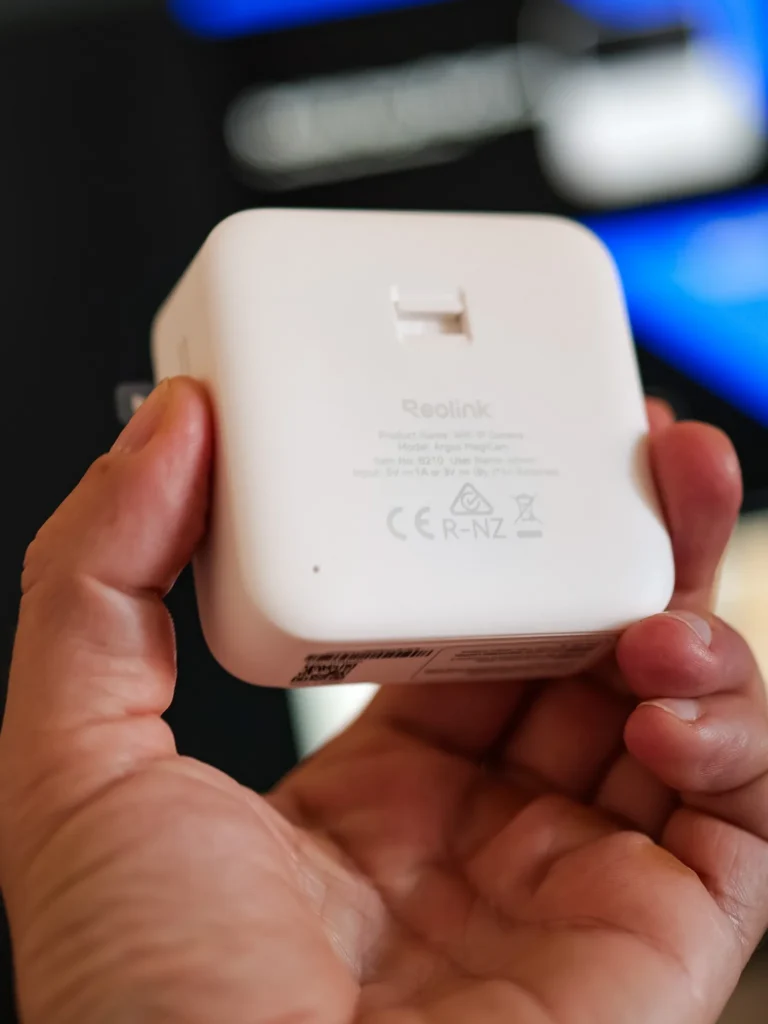
Turning it around, you find a USB-C port and a small grille that looks very much like a speaker. And as always on a surveillance camera, my first instinct is to look for where to slide in the microSD card. There, surprise, you actually unclip the entire back thanks to a little notch.
The surprise of AA batteries (and why I changed my mind)
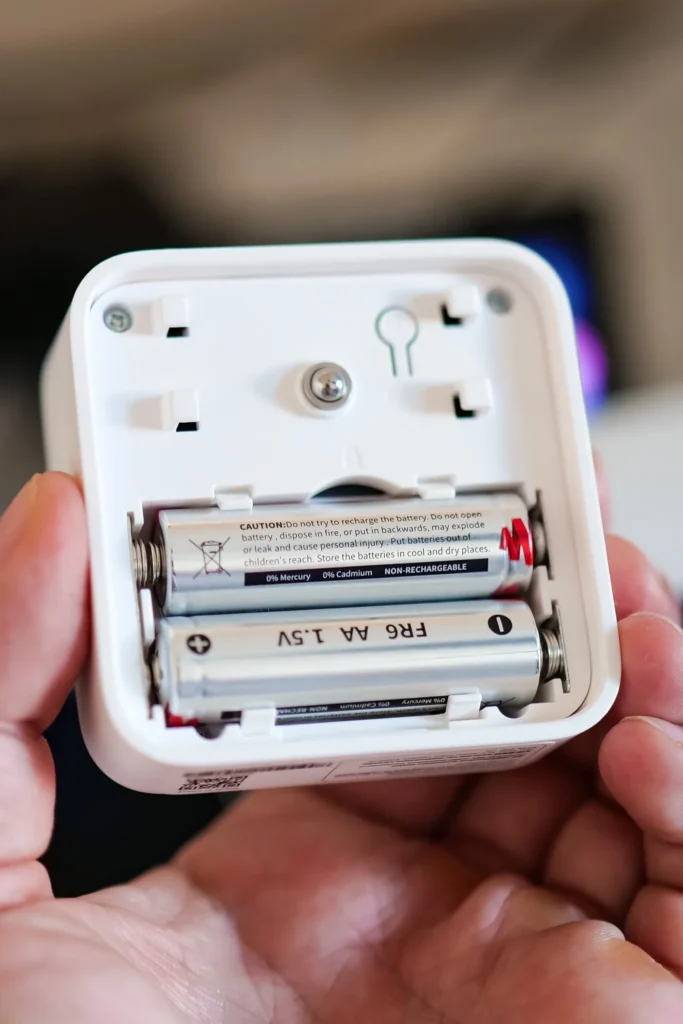
And it was when I opened this back compartment that I stumbled upon something that took me back a few years, a slot for AA batteries. My first reaction, I won’t hide it, was total astonishment—batteries in 2026, while everyone is giving us built-in batteries (the batteries are included in the box, by the way).
Then I thought for two minutes, and my opinion did a 180-degree turn because honestly, it’s an excellent idea. The battery is often the first thing that dies on this kind of device. Here, there’s no proprietary battery to buy, no surgical disassembly; you replace two batteries and you’re good to go. This could significantly extend the product’s lifespan, and I personally applaud that.

Storage: microSD, Home Hub, or cloud
The microSD slot is hidden behind this removable face. My unit arrived with a 64 GB card, and the camera accepts up to 256 GB. Reading the documentation, nothing indicates internal memory, so everything relies on three options: the microSD card, a Reolink Home Hub, or the cloud. And the big advantage here is that there’s no mandatory subscription; local storage is included (a detail that changes everything when you know some competitors charge for every function).

Speaking of the Home Hub, I had already discussed it in detail; it’s the little brain that centralizes all your cameras and storage in one place, so you don’t have to multiply microSD cards everywhere. The MagiCam integrates seamlessly.

Reolink Home Hub – The Ultimate Command Center for Your Cameras
The Reolink Home Hub is like the missing piece for anyone looking to secure their home without adding unnecessary complications. Designed as a plug-and-play digital recorder, it lets you easily...
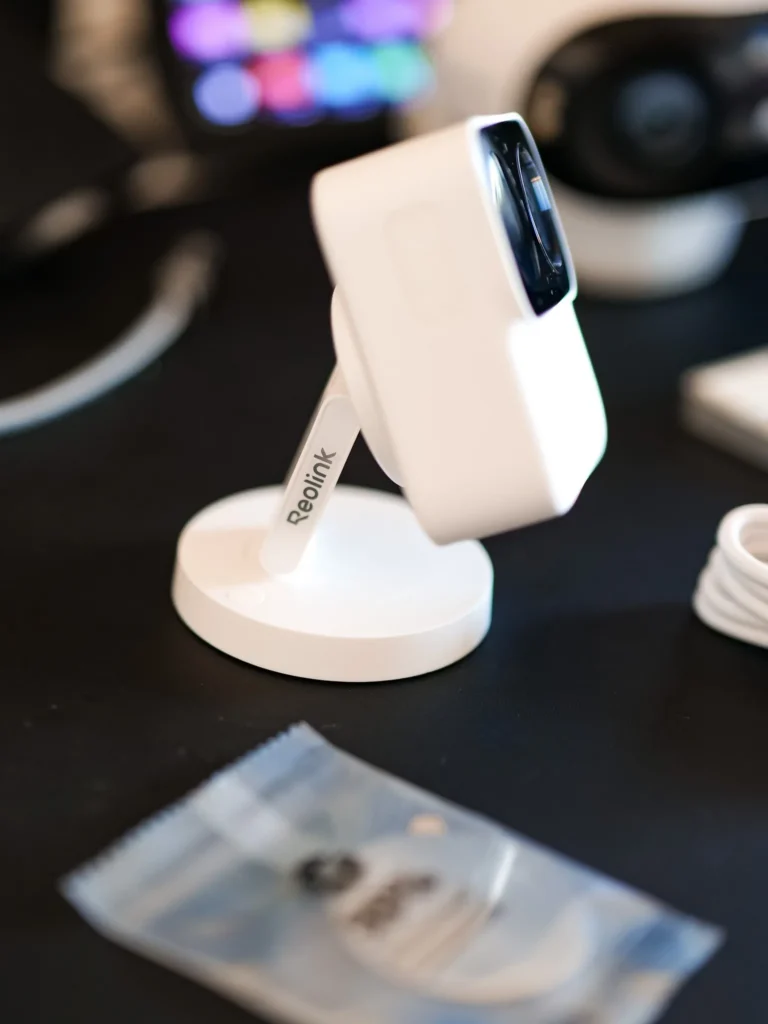
Read moreThe magnetic system like MagSafe
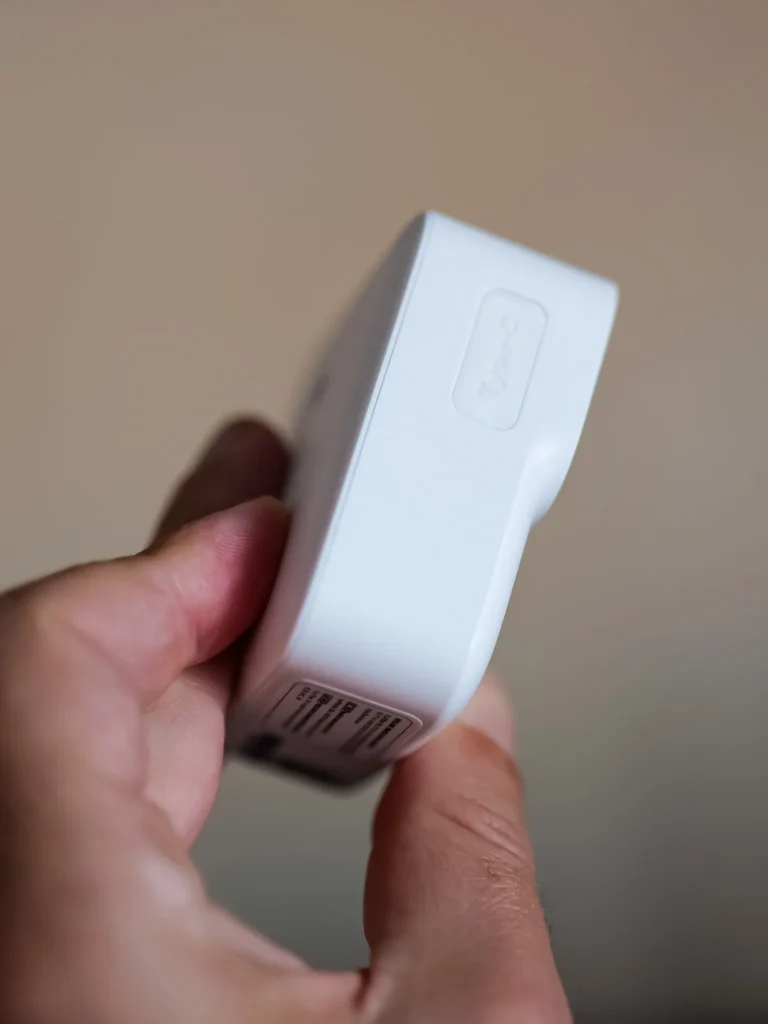
When closing the back of the camera, I immediately felt the strength of the magnet, and the closure inspires confidence; it’s a real magnetic system, not a cheap fridge magnet. The camera also comes with a magnetic mount that immediately reminded me of Apple’s MagSafe; same principle, a fixed mount, a magnetic piece, and boom, it positions itself in a second.

I even tried to use it as a MagSafe mount for my phone (don’t laugh), it obviously doesn’t work at all, but it made me laugh.
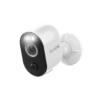
A camera made to move
And this is where I think I understood the spirit of the beast; the MagiCam is not designed as a fixed camera; its thing is mobility. You take it down, you place it elsewhere, you take it with you. By the way, Reolink fully embraces this; they themselves mention campers and camping in the uses, so we are right in my playground.
I saw users installing it right outside their camper van. Do they drive like that? No idea, and I’m not planning to try it. However, what I really want to check is whether the magnet holds well enough for a temporary placement on the bodywork, with the vehicle stationary. Just to monitor a spot, the bikes, or the entrance of the camper van for a stopover. Stay tuned for the video.
Installation: QR codes and a little mishap
Well, this isn’t my first Reolink installation, and this one stayed very classic. We add a device in the app, scan the QR code under the camera, and at one point, it’s the phone that displays a QR code that the camera must scan in turn.
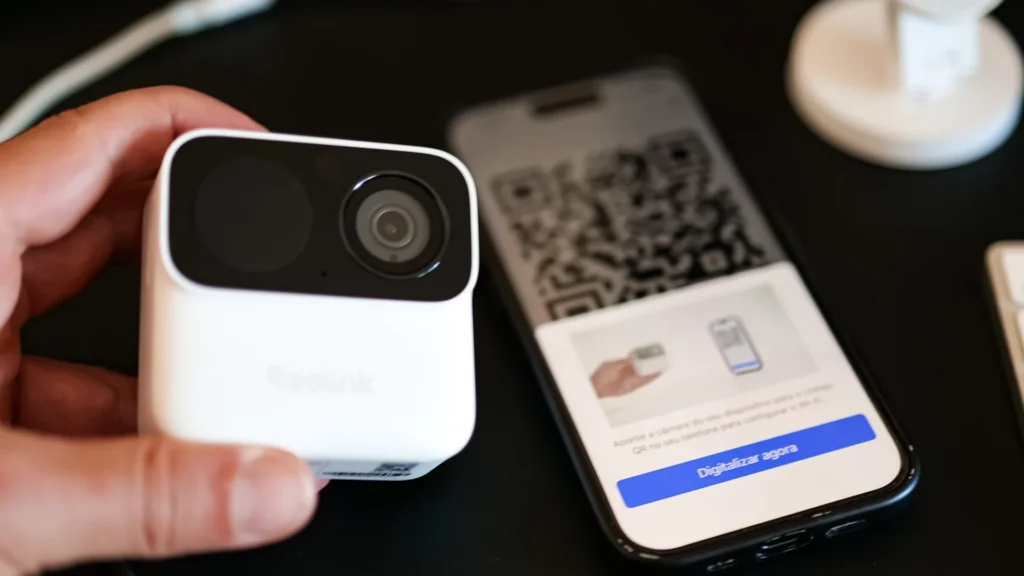
And there, a little moment of solitude, the camera stubbornly refused to scan the code displayed on my screen. I searched, turned the phone in every direction, and after a while, the light bulb went off in my mind before it did on the camera; it simply wasn’t turned on (yes, yes, the batteries were in, but the device was off, well done Xavier). Once turned back on, the scan worked on the first try, and the pairing went smoothly.

By the way, I thought Reolink had removed the startup voice announcements, but no, it was once again my camera that was off. Once powered on, the little guiding voice is indeed there. So, I can’t tell you if they’ve changed the messages compared to previous generations; I’ll let you know later.
The Reolink app: a Boeing cockpit
Once the camera is in place, we find a familiar interface, and above all, a mountain of settings. I honestly think that most people will never use 20 percent of the options offered (me included, probably). There’s plenty to keep you busy: battery level, Wi-Fi status, audio, motion detection, alarms, notifications, siren, Alexa integration, private mode, time-lapse, and more.
First impressions on the image
I took a screenshot and a photo directly from the video stream, without any editing. We’re at 1080p, and for a camera of this size, I find the level of detail good, the colors decent, and the field of view quite generous (132 degrees diagonally, nonetheless). I noted a slight delay between movements in front of the camera and their display on the phone, but nothing shocking for a security camera. And once the video was recorded and played back, the image and sound remained perfectly synchronized.

And while I’m at it, I’ve included a little video preview of the beast in action (filmed during the installation, you’ll see me in deep concentration, headphones on).
Be careful though, we’re still dealing with an entry-level camera, so no 4K or color night vision here; we’re on classic infrared. You need to know that before buying.
My verdict (provisional, I insist)
Overall, I’m very intrigued by this little thing. What I already like is its pocket format, its magnetic system, its replaceable batteries, and its whole philosophy of being a nomadic camera. If you’re hesitating between models, I actually have a comparison of wireless standalone cameras that can help clarify things for you.
The real test is yet to come, and it’s the use while on the go that will tip the balance one way or the other. For now, let’s say that the connection between us is good.
The good Reolink deal
And as usual with Reolink, there’s a way to lower the bill with our in-house promo code; it would be a shame to miss out on that.
CARO51
PS: So, did the magic happen? For now, it has mainly worked on the size of the box, but I’m keeping an open mind; see you very soon for the next part, in the camper van this time. 😉