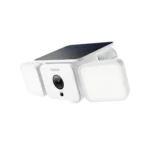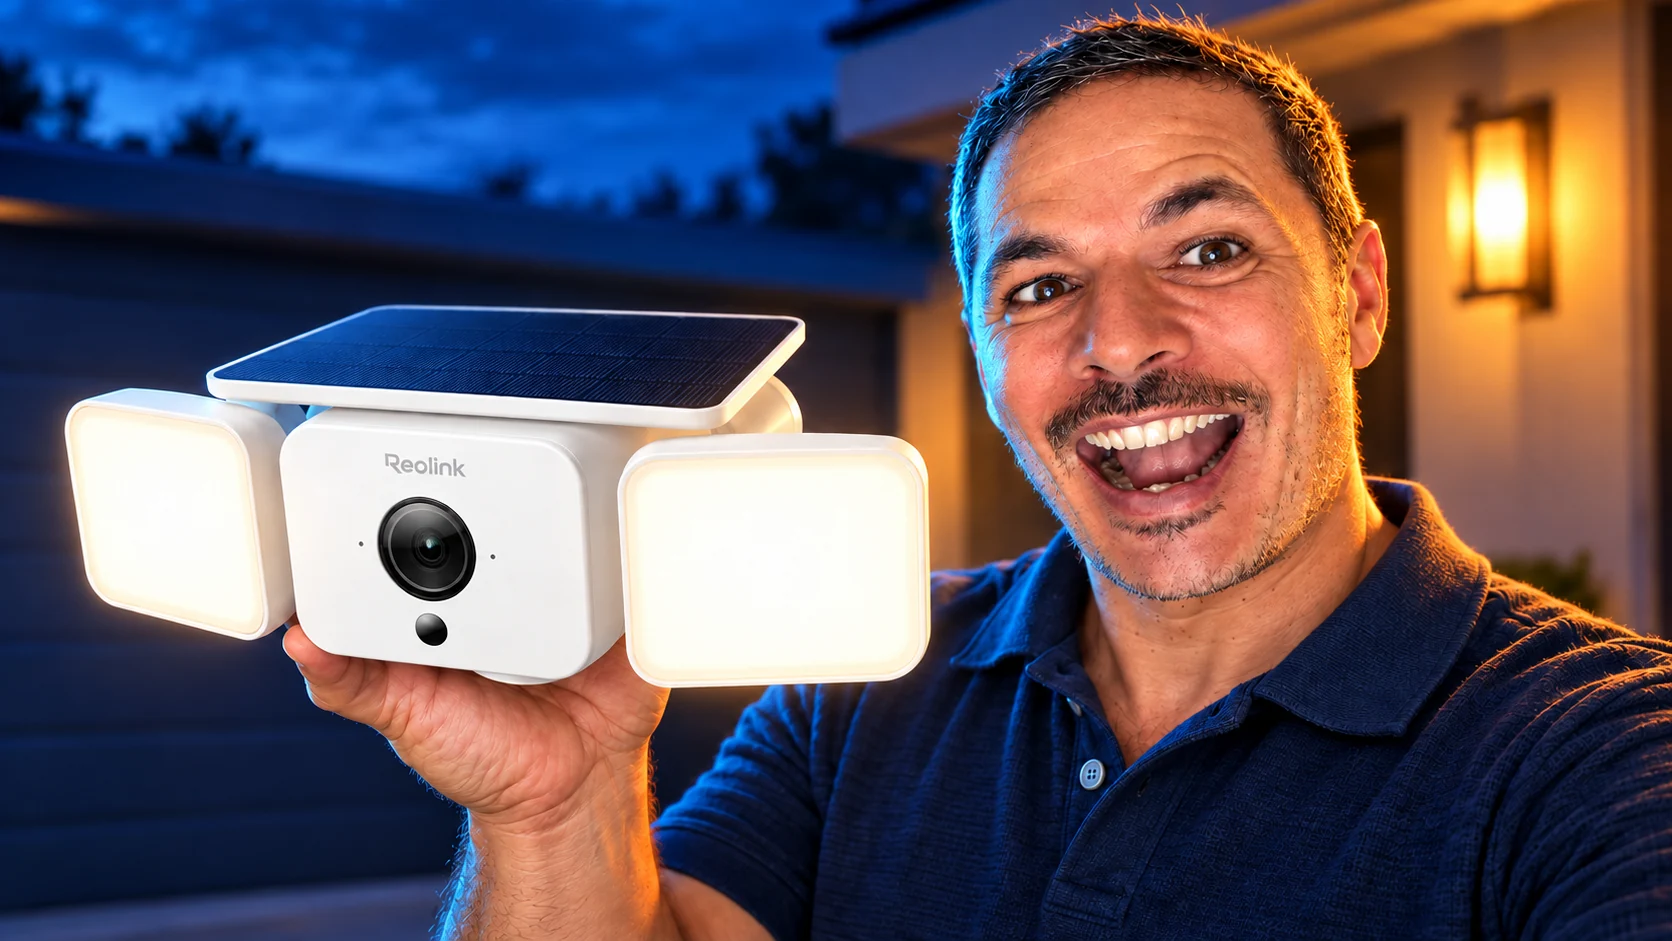
What I like about this Reolink for the home is precisely what would make me shy away from our camper van: its floodlights. To light up an entrance when you come home in the evening, I find the idea very good. To illuminate an empty space during our absence, I am much less enthusiastic.
I have tested dozens of Reolink cameras. However, I have not yet had my hands on this Solar Floodlight Cam. I will therefore present it based on its features and what I expect from this type of camera. Reolink might send it to me; for now, I can tell you what interests me, what makes me hesitate, and where I would see it fitting well.
This presentation is in French; the article below is adapted for the UK.
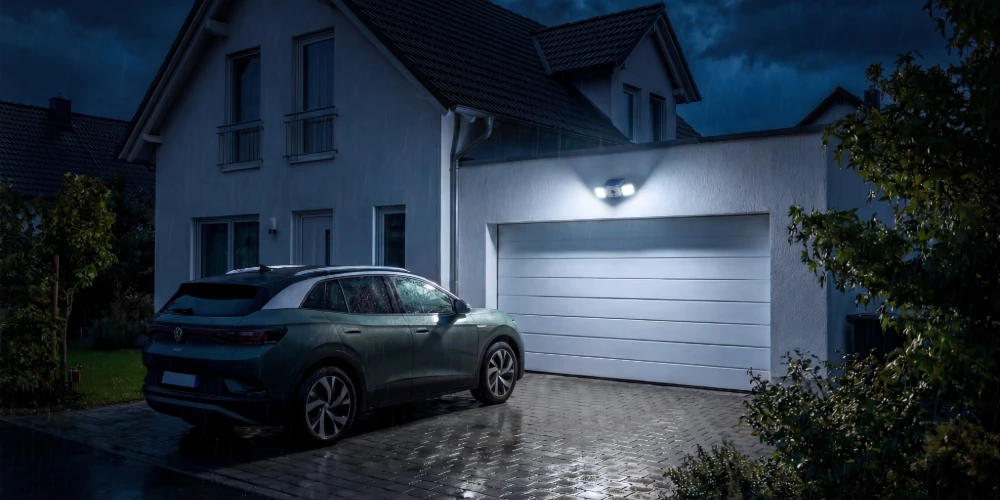
Official Reolink visual: the driveway is precisely one of the locations I would consider.
Above the garage or near the entrance, I see a place for it
You come home in winter, it’s already dark, you’re looking for your keys, and the entrance is in the dark. A camera that turns on the lights when you arrive provides a very concrete service. Above the garage door, it can also light up the driveway while you arrive with the car.
The other benefit, of course, is to make someone approaching the house visible. A light that turns on can deter and allows you to better see the surroundings before opening. This is what I like here: monitoring and lighting the same access. It doesn’t guarantee that an intrusion will be prevented, but I prefer to see what’s happening around my door rather than discovering it when putting the key in the lock.
You still have to look at the facade before pulling out the drill. Reolink recommends installation at 2 to 3 metres (roughly 6½ to 10 feet) above ground. The motion detector reacts better when someone crosses its zone than when they arrive directly in front of it. And since the solar panel is on the camera, the underside of a deep awning is not necessarily the ideal location.
A wide view needs careful placement on a UK terraced house or shared driveway. Aim at your own entrance and use privacy masking where needed. The ICO’s home-CCTV guidance explains the extra responsibilities when images extend beyond your boundary. I would check that framing before relying on the advertised viewing angle.
An integrated solar panel, with both sides of the coin
This is the first thing that attracted me to this model: the 3 W panel is directly above the camera. You set up a single unit. You don’t have a second mount to fix and a cable to run along the wall for the provided panel.
On models with a remote panel, you can install the camera where you want and seek the sun a few metres away. Here, the same location must suit both. You gain in installation simplicity, but lose freedom in exposure. It’s an advantage and a disadvantage, and I find it a shame to only tell half the story.
Take a simple example: a camera inside the garage with its panel outside. The integrated panel does not allow this separation, as it is fixed and non-detachable. However, Reolink states that you can connect an additional external solar panel. The idea remains to be studied with this accessory, but the all-in-one block alone does not solve this case.
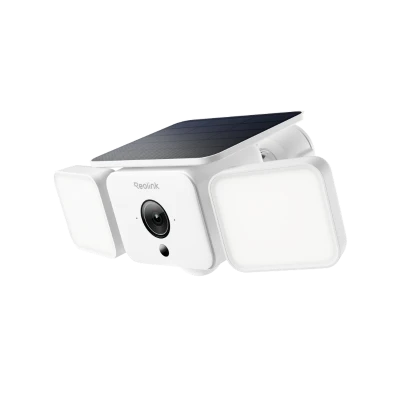
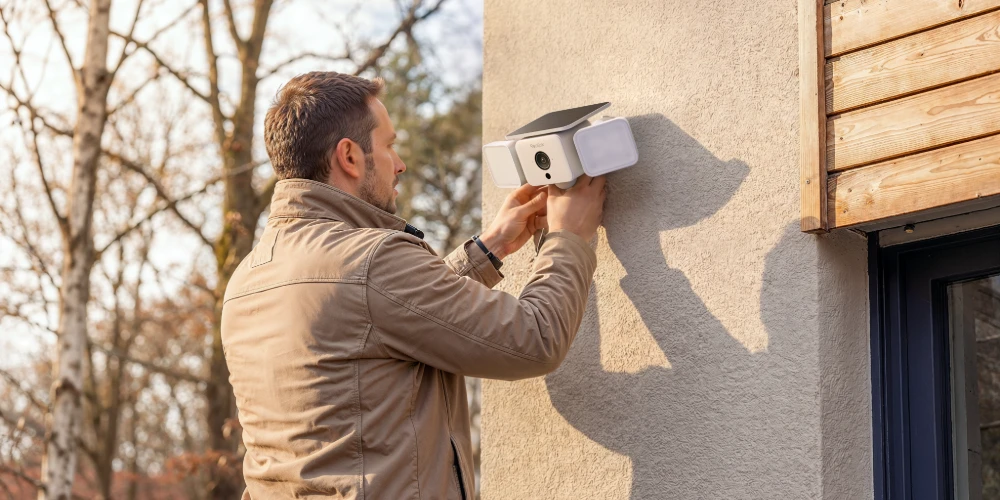
Official Reolink visuals: the integrated panel and wall mount.
And this panel gives it a sort of little cap. It won’t get sunburned (there, I had to make that joke). More seriously, it may seem to shelter part of the casing, but I don’t deduce a better resistance to rain or heat from that. What we know is that the camera is rated IP66, with an operating range of −20 to +55 °C.
One hour of sun per day: I would keep a margin
Reolink announces a 7,800 mAh battery and a three-month autonomy. The brand recommends at least one hour of direct sunlight per day for the solar installation. Personally, I would aim for a bit more. Between an entrance where two people pass and a very busy driveway, with floodlights that turn on often, the consumption has no reason to be the same.
Short UK winter days, cloud and shade from the roof also count. A facade that gets good sun in summer may be much less interesting in winter, precisely when we benefit most from the lighting. We will need to monitor the battery’s evolution over several days to know if the installation maintains its balance.
The floodlights can distinguish the cat from the car
The two floodlights claim up to 1,000 lumens. Their intensity is adjustable, as is the white temperature, from 3,000 to 6,000 K. You can therefore seek warmer lighting for the entrance or whiter according to your preferences. I haven’t yet seen the actual illuminated surface, so I won’t invent the size of the garden they cover.
What interests me most is the detection of people, vehicles, and animals. The goal, for me, would be to light up when a person or a car arrives, without turning every outing of the cat into the inauguration of the municipal stadium.
There is one setting to understand well: simply turning off the “animal” notifications does not necessarily stop their lighting. The general mode related to the motion detector waking up can still turn on the floodlights.
Infrared night vision remains available, with a claimed range of 10 metres. The floodlights allow filming in colour, and they can be turned off. The lighting and siren should be adjusted according to use: I am fine with being welcomed by light, a bit less by an alarm every time I return home.
A wide angle to monitor with a single camera
The image is in 2K, or 2,560 × 1,440 pixels, up to 15 frames per second. For the field of view, the specs give 124.5° horizontally and 150.5° diagonally. It’s an interesting coverage to frame an entrance and part of its surroundings with a single camera.
You just need to compare the same angles between models: the 150.5° is not the horizontal width of the image. And a large field of view does not, by itself, indicate how far away you can recognise a face. I prefer to verify that on the images when I have the camera.
Technical specifications: Reolink Solar Floodlight Cam
| Dimensions | 101.5 x 264 x 161.2 mm |
|---|---|
| Wi-Fi | ✓ |
| Application | ✓ |
| Warranty | 2.00 an |
| Operating Temperature | -20 to +55 |
| LED Lighting | ✓ |
| Waterproof Rating | IP66 |
| Charging Temperature | 0 to +45 (solar charging) |
| Horizontal Field of View | 124.5° |
| Vertical Field of View | 69.6° |
| Diagonal Field of View | 150.5° |
| Solar Panel Power | 3.00 W |
| Panel Type | Built in, fixed, neither detachable nor replaceable |
| Number of Panels Included | 1.00 |
| Connectors | USB-C (5 V / 2 A charging), microSD slot |
| Video Resolution | 4.00 MP |
| Night Vision | 850 nm IR up to 10 m; colour with the floodlights on |
| Smart Detection | People, vehicles and animals; PIR up to 10 m, 150° |
| Connectivity | Wi-Fi 6, 2.4/5 GHz; WPA/WPA2/WPA3 |
| NVR Compatible | ✓ |
| Storage | microSD up to 512 GB; Home Hub; compatible NVRs; FTP |
| Audio | Built-in mic and speaker, two-way; siren rated 110 dB |
| Video Compression | H.264 / H.265 |
| Sensor size | 1/3 inch CMOS |
| Max video resolution | 2560 x 1440; 10-15 fps (15 by default) |
| Battery life | 3 months claimed; depends on use; 7,800 mAh battery |
| Storage expandability | Reolink Home Hub, Home Hub Mini/Pro and NVRs supported |
| App features | Live view, playback, notifications, light control; critical alerts on iOS once authorised |
| Installation and connection | Exterior wall, 2-3 m recommended height; direct sun and Wi-Fi coverage needed |

I'm Xavier
I test gear over months, in the van and day to day, and I say what doesn't work. If that saves you one bad purchase, leave me your address.
Ce que vous souhaitez recevoir :
MicroSD, Home Hub or NVR: I like the storage choice
You can record on a microSD up to 512 GB, use a compatible Home Hub, including the Home Hub Mini and Home Hub, or connect this camera to a compatible Reolink NVR. The NVR is the recorder that centralises the videos from an installation. You need to check its hardware model and firmware before assuming compatibility.
This choice avoids the need to take a cloud subscription to keep your videos. For a first camera, the microSD may be sufficient. When you start to have several, I willingly recommend looking at the Home Hub. I have tested them, and I find it practical: you centralise without necessarily setting up an installation with NVR. I discuss it in more detail in our article on the Reolink Home Hub.
The camera joins the home network via Wi-Fi 2.4 or 5 GHz, with support for Wi-Fi 6. It is not a 4G model: the network must reach properly to the wall where you mount it.
The app, alerts, and the ability to respond
The Reolink app is one of the things I already appreciate about the models I have used. Seeing the live feed, finding events, and receiving a notification is the basics. With the built-in microphone and speaker, you can also hear what is happening and speak to the person in front of the camera.
Critical alerts are also interesting: on iPhone, with the necessary permissions, they can ring even when the phone is on silent. I specify iPhone because this documented functionality for iOS should not be assumed to work the same way on all Android phones.
Why I wouldn’t choose it for inside the camper van
You know that here we also talk about vanlife, and that we have dedicated several articles and videos to cameras suitable for this use. For this one, my interest is primarily in the home.
At night, you can see better what is illuminated. If the floodlights turn on in an empty camper van, with the windows not covered, they can actually show that there is no one inside. What is useful in front of a garage door then becomes a disadvantage in the cabin.
Yes, you can turn off the lights and use infrared. But if it’s to never use its big floodlights, I would first look at the more discreet models from our selection of cameras for camper vans. It’s a matter of use, not a technical impossibility to put it in a vehicle.
The Solar next to the other Floodlights
This Solar represents the battery option with integrated solar. The Elite Floodlight WiFi, which visually reminds me of the Argus 4 Pro, is another model: two lenses, a horizontal view of 180°, 8 megapixels, and a lighting announced at 3,000 lumens. It requires mains power.
The TrackFlex Floodlight WiFi goes further on motorisation and tracking, with a main 4K lens, a telephoto lens, and 3,000 lumens, also requiring mains power. So it’s not just a story of small and big cameras: you need to decide if you want to pull power and if you need motorized tracking.
What I think before testing it
For an entrance or a driveway well exposed to the sun, I see a place for it. I like the combination of camera and lighting, the already integrated panel, and the choice of local storage. The point that will determine its interest for you is really the location: you need the right framing, Wi-Fi, and enough sun in the same spot.
If I receive it, I will prioritize checking the activation delay when arriving, the behaviour with the cat, the quality of faces in motion, and the battery with the floodlights used regularly. In the meantime, you can find the specifications and offer in the product sheet for the Reolink Solar Floodlight Cam.
Reolink Solar Floodlight Cam promo code
 In stock
Reolink Solar Floodlight Cam
CARO51*
*Verified price on 7 October 2026. The final price may vary.
Frequently Asked Questions about the Reolink Solar Floodlight Cam
Has the Reolink Solar Floodlight Cam been tested here?
No. Xavier has tested dozens of Reolink cameras, but he does not yet own this Solar Floodlight Cam. This article presents the features and his expectations; it does not contain measurements taken on this model.
Is the solar panel integrated or external?
The 3 W panel is integrated, fixed, and non-detachable. The camera must therefore receive enough sunlight to benefit from this panel. Reolink also announces the possibility of connecting an additional external panel.
Does an hour of sunshine guarantee permanent autonomy?
No. Reolink recommends at least one hour of direct sunlight per day. The balance depends on the season, exposure, the number of detections, and the use of the spotlights. The three months of autonomy is a manufacturer’s claim, not a measurement taken here.
Can we prevent the cat from triggering the spotlights?
The light alarm can be limited to people and vehicles. You also need to disable the general Floodlight mode related to the PIR wake-up, then configure Light Alarm. The result depends on the proper classification of passages and deserves an on-site trial.
Do you have to pay a subscription to keep the videos?
No. Local storage uses a microSD card up to 512 GB, a compatible Home Hub, or a compatible Reolink NVR. Storage accessories should be planned separately according to the installation.
Is the recording continuous 24/7?
The official sheet indicates an event recording. Connecting to a Hub or an NVR should not be presented as a guarantee of continuous recording for this battery-powered camera.
Can alerts ring when the phone is on silent?
The critical alerts documented by Reolink are available on iOS, subject to the phone's permissions and settings. This functionality should not be generalized to all Android devices.
Equipping your van, security included
Batteries, solar, conversion, security. What we found after months of real use, and what we would not buy again. An email when we have actually tested something, not before.
Ce que vous souhaitez recevoir :