My verdict in brief
Benefits
- More pronounced background blur in our 4.5× portraits
- Extra reach for animals or details at a distance
- Easy clip-on mounting
Disadvantages
- Wide-angle inaccessible as long as the accessory is installed
- Preparation time that reduces spontaneity
- Compatibility limited to the Luna Ultra, without ND filter stacking
What I love about the Luna Ultra is being able to take it out and start filming right away. Going to get and attach that telephoto lens wastes precious time for my use. I appreciate the more pronounced blur in portraits and the reach for animals, but I would reserve it for prepared shots. I can see its value on a tripod with a remote; my tests so far have only been done handheld, in standard video and without calibration. The tripod and the Moon still need to be tested.
What I love most about the Luna Ultra is being able to take it out and start filming right away. So, of course, a telephoto lens that I have to fetch from its box and then attach to the camera makes me think twice… Even if, once mounted, it adds something I particularly appreciated in portraits: a more pronounced background blur.
Insta360 sent me this Ultra Telephoto Lens to test it on my Luna Ultra (the camera itself was purchased by me). I recorded several clips with and without the attachment, on portraits, animals, and distant subjects. The maximum zoom is impressive, yes, but it’s mainly the look of the images and the extra preparation that caught my attention.
If you’re discovering this camera, I detail its everyday use in my test of the Luna Ultra. Here, I focus on this little additional lens and what it changes in my filming style.
On portraits, the blur interests me more than the maximum zoom
To compare, I filmed the same portrait with the telephoto lens, then without. In both shots, I was at 4.5×. And that’s where I found the result interesting: with the attachment, the background becomes more discreet and the face stands out more. I like this rendering, as long as I have time to prepare the shot. When I want to film quickly, this extra blur isn’t enough to make me prefer the accessory.
You can move the vertical divider on the two video stills of Caroline below. They come from my 4K videos at 30 frames per second, in regular Video mode, with no added blur or sharpening.
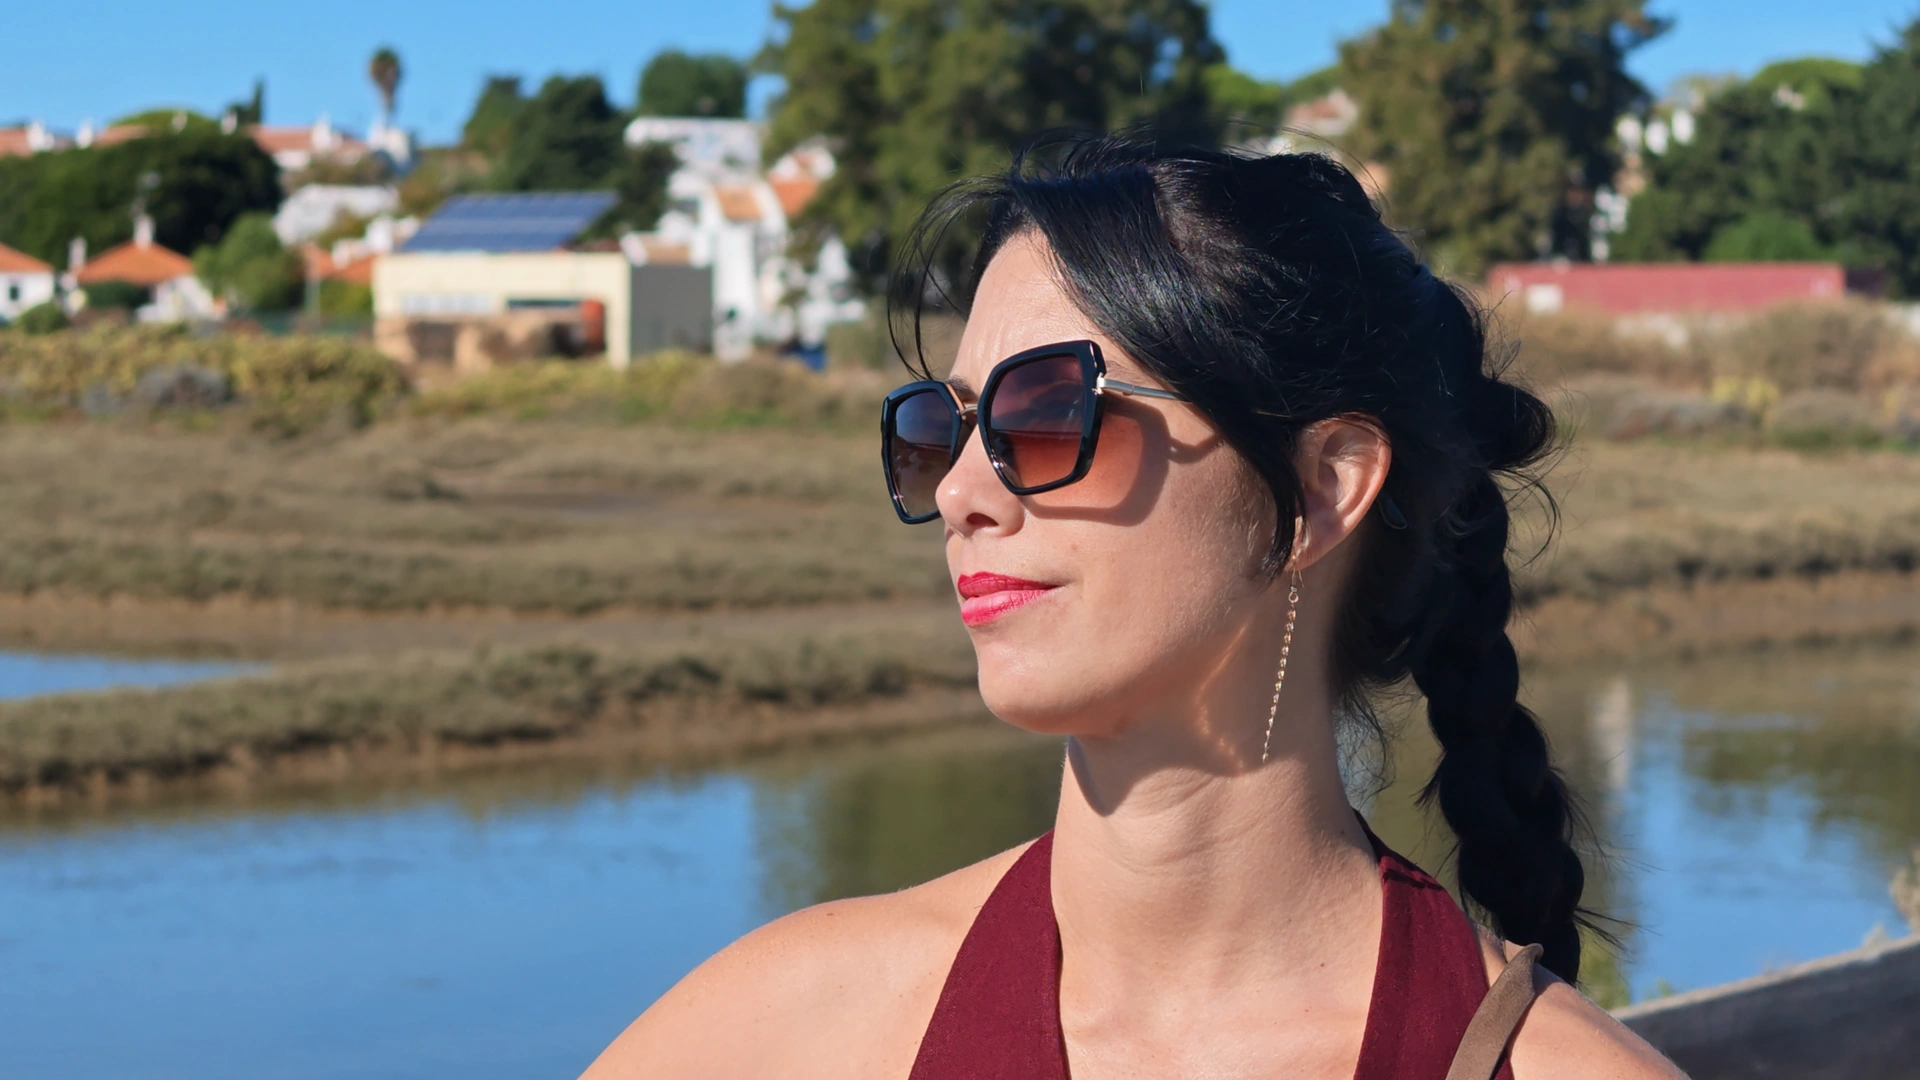
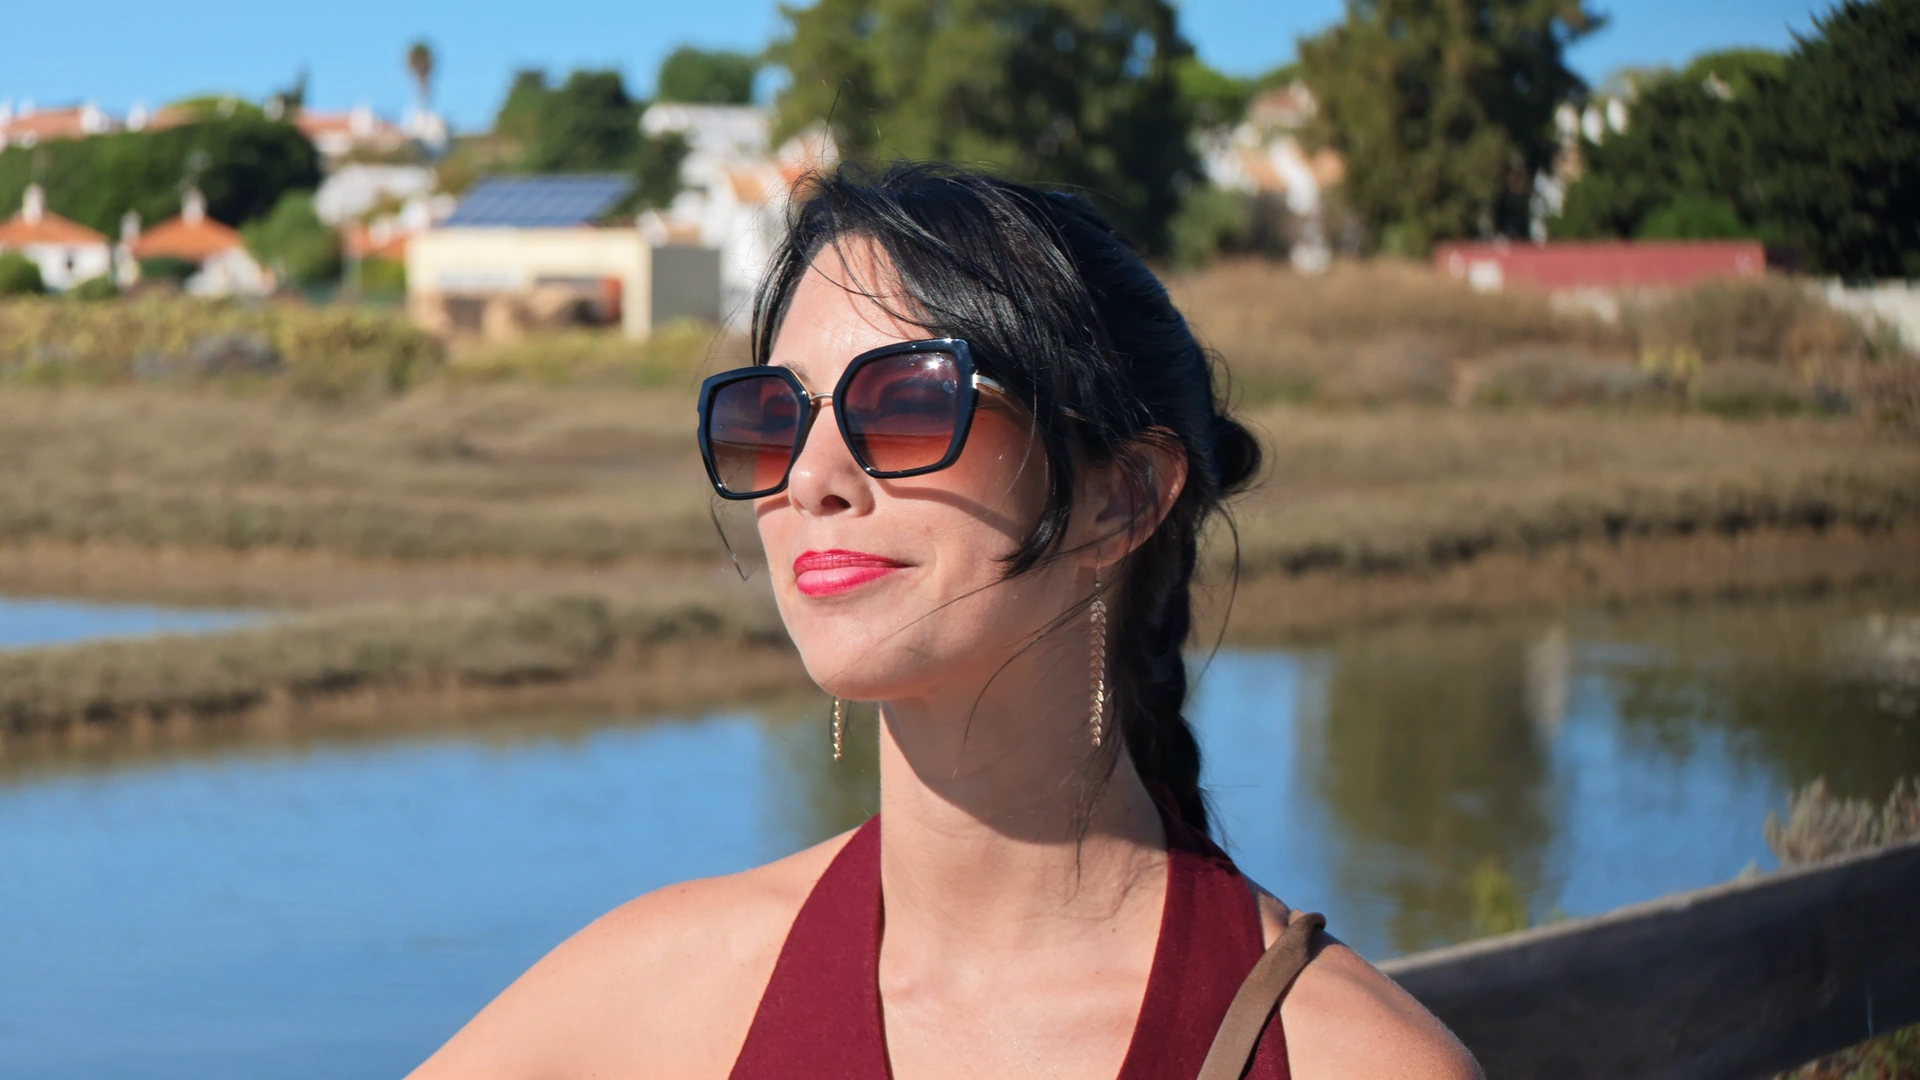
Stills from 4K30 videos of Caroline, at 4.5× in both clips. Taken at different moments, with slight changes in framing and face position. No alignment or added blur.
The two shots were filmed at different moments: the position of the face and the framing shift a bit. This comparison shows what I obtained in the field, without trying to make it a lab measurement. Pay particular attention to the buildings and vegetation behind the portrait, that’s where the difference in rendering is noticeable.
The figure 4.5× also deserves some clarification. With the accessory, we achieve this thanks to the optical attachment mounted in front of the camera’s telephoto lens. Without it, we push the integrated zoom beyond its optical limit of 3×. The displayed number is the same, but the way to obtain the image changes.
What the Ultra Telephoto Lens adds to the Luna Ultra
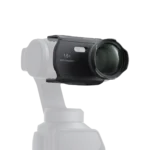
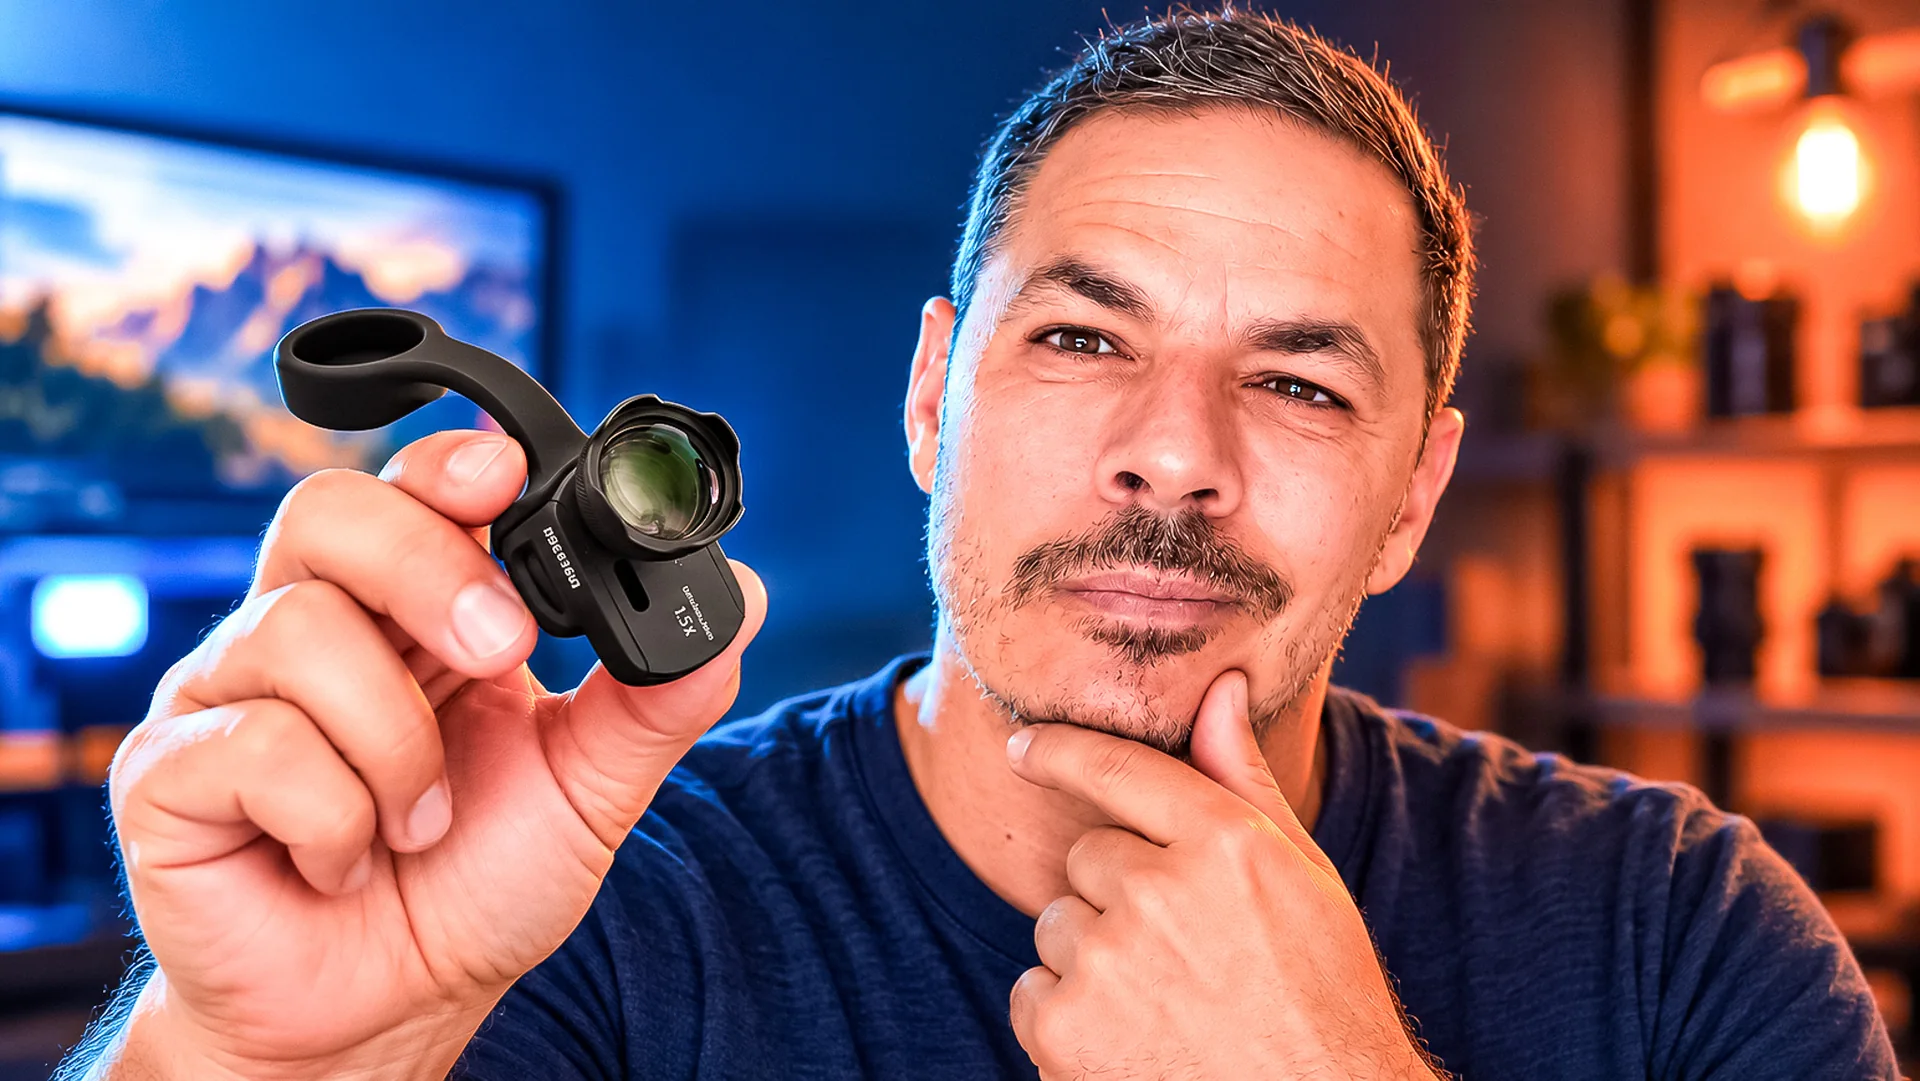
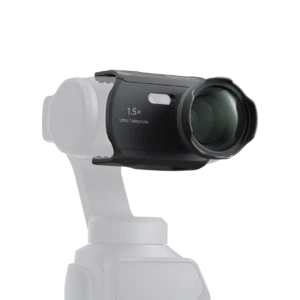
This accessory is a 1.5× optical attachment, designed for the Luna Ultra. It attaches in front of its built-in telephoto lens and is not compatible with the Luna Pro. The starting focal length then goes from 60 to 90 mm in 35 mm equivalent terms, with an announced range of 90 to 450 mm, or 4.5× to 22.5× compared to the camera’s wide-angle.
The 22.5× includes digital zoom. The added glass multiplies the focal length by 1.5; it does not turn the Luna into a continuous optical zoom of 22.5×. It’s useful to keep this in mind when comparing numbers and images.
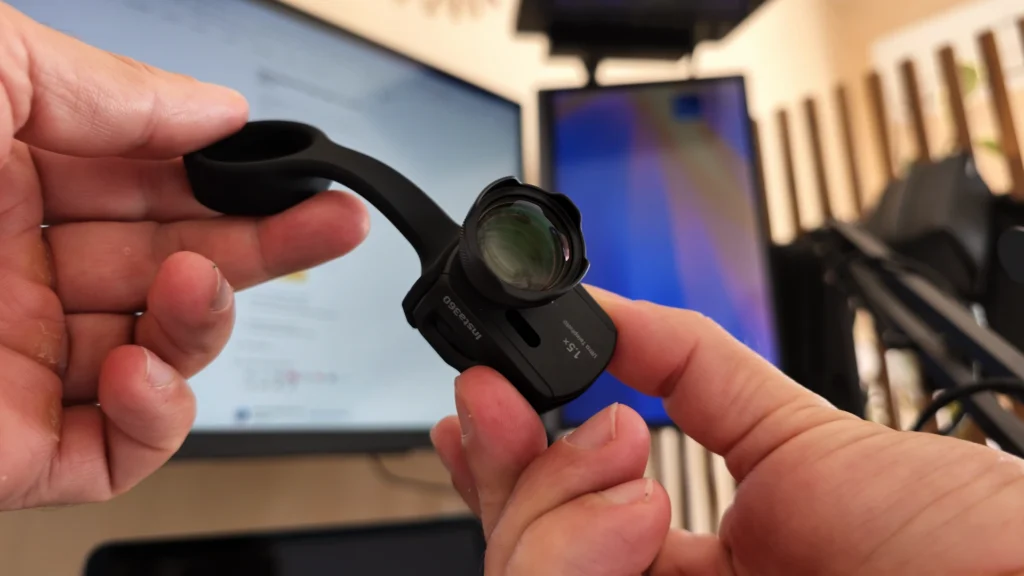
The optical attachment and its protection during unboxing.
What you can frame with and without the attachment
Camera on its own: 1× to 15×
20–300 mm equivalent
With telephoto attachment: 4.5× to 22.5×
90–450 mm equivalent
Both ranges use the same scale. High magnifications include digital zoom. The optical attachment multiplies the focal length by 1.5.
Telephoto attachment specifications
| Colour | Black |
|---|---|
| Net weight | Attachment: 13 ± 5 g (manufacturer figure); protective cover: approximately 24.5 g |
| Dimensions | 40.25 × 30 × 43.70 mm (width × height × depth) |
| Zoom | 4.5× to 22.5× relative to the wide-angle camera; the maximum includes digital zoom |
| Installation and connection | Clip-on mount with the camera switched off; dedicated calibration recommended outdoors in good light, with the camera upright and stable, aimed at a distant detailed subject |
| Compatible devices | Insta360 Luna Ultra only; not compatible with Luna Pro |
| Optical attachment magnification | 1.50 |
| 35 mm equivalent focal length | 90–450 mm equivalent; optical starting focal length 90 mm, maximum with digital zoom |
| Materials | Plastic, glass and metal |
| Box contents | 1 Ultra Telephoto Lens attachment and 1 protective cover; camera not included |
| Minimum firmware | Luna Ultra v1.1.15 or later |
| Accessory and mode restrictions | Wide-angle camera covered; no ND filter stacking or standard camera cover while attached. 360° panorama unavailable; 200 MP panorama may show poorer stitching. |
The box contains the attachment and its protection. The mounting and calibration instructions are detailed in the official Insta360 manual.
Easy to fit, but I’m more cautious when removing it
I was a bit apprehensive about handling an accessory around this small gimbal, with its moving axes. In the end, the attachment clips on quite easily. Once the telephoto lens is installed, the camera recognizes it and offers the appropriate settings.
Removing it, however, still makes me a bit afraid of damaging the stabilization head. I haven’t broken anything; it’s mainly the sensation of handling a piece around a fairly delicate mechanism. With a camera that I take out precisely for its ease of use, that still matters.
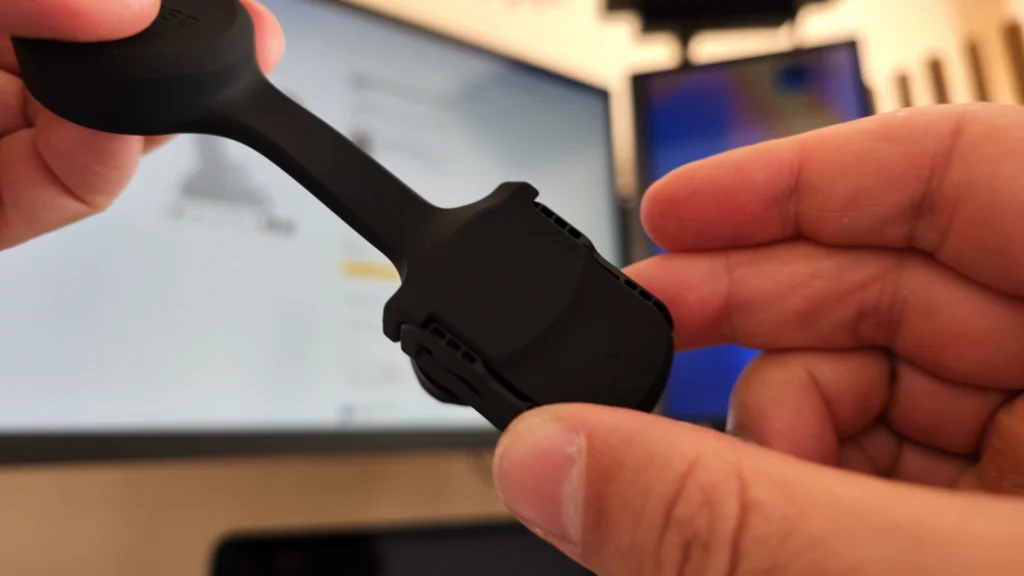
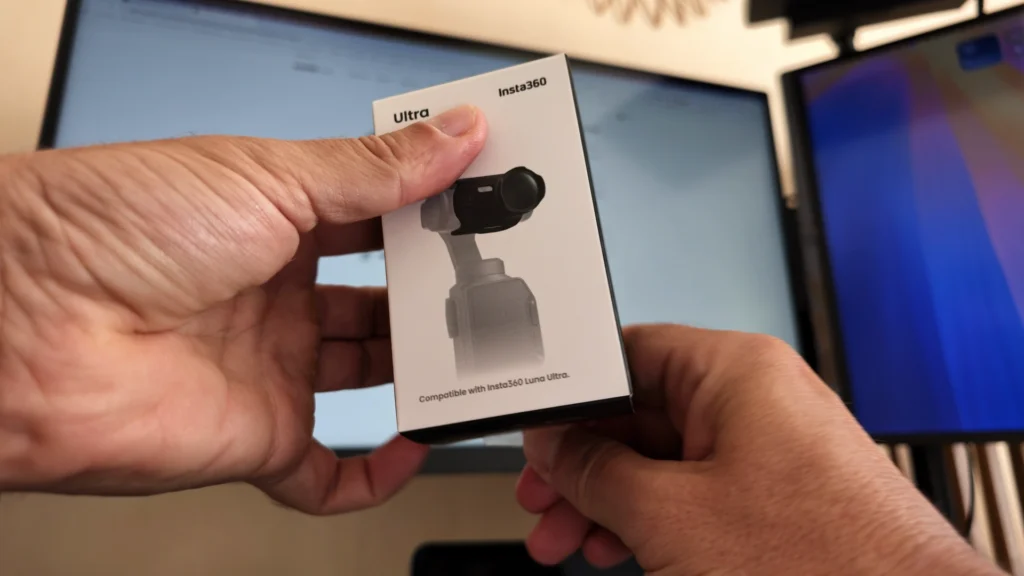
The back of the attachment and the box received for this test. The attachment is easy, but removing it requires more attention.
Insta360 recommends calibrating the attachment. My images show the result obtained without this step; I do not have a before/after calibration comparison to present to you. The Stage mode also has special treatments, including Ultra HD Zoom, which I did not evaluate in these shots.

I'm Xavier
I test gear over months, in the van and day to day, and I say what doesn't work. If that saves you one bad purchase, leave me your address.
Ce que vous souhaitez recevoir :
For animals that cannot be approached
The other use that interests me is filming animals. There are situations where you simply cannot get closer to the subject, and where a bit more reach can be useful. That’s why I also filmed animals during these tests.
The attachment pushes the framing further than the camera on its own. For a distant bird or a detail I want to isolate, I understand its usefulness. It then depends on the shot you are preparing and the distance at which you are. I prefer to plan for this kind of subject rather than keep it on the camera all the time.
Marsh birds, with the telephoto lens
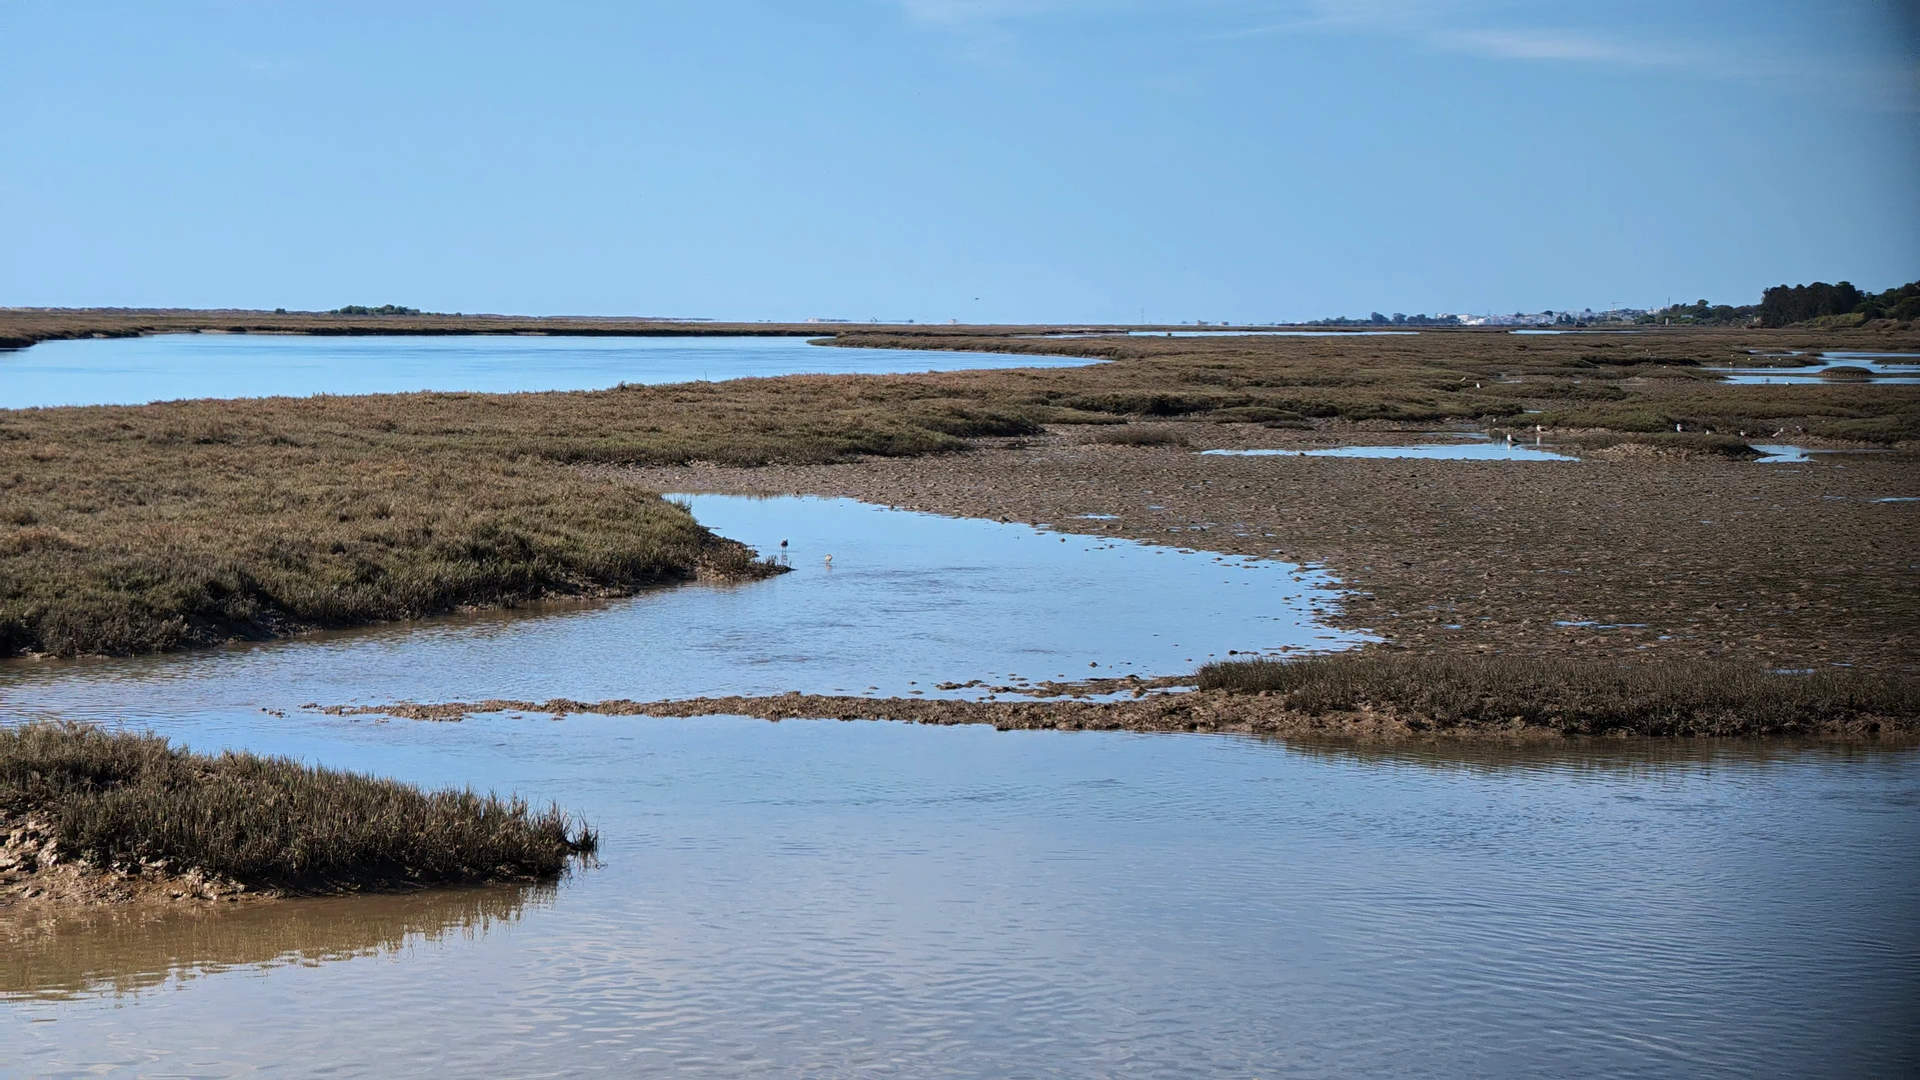
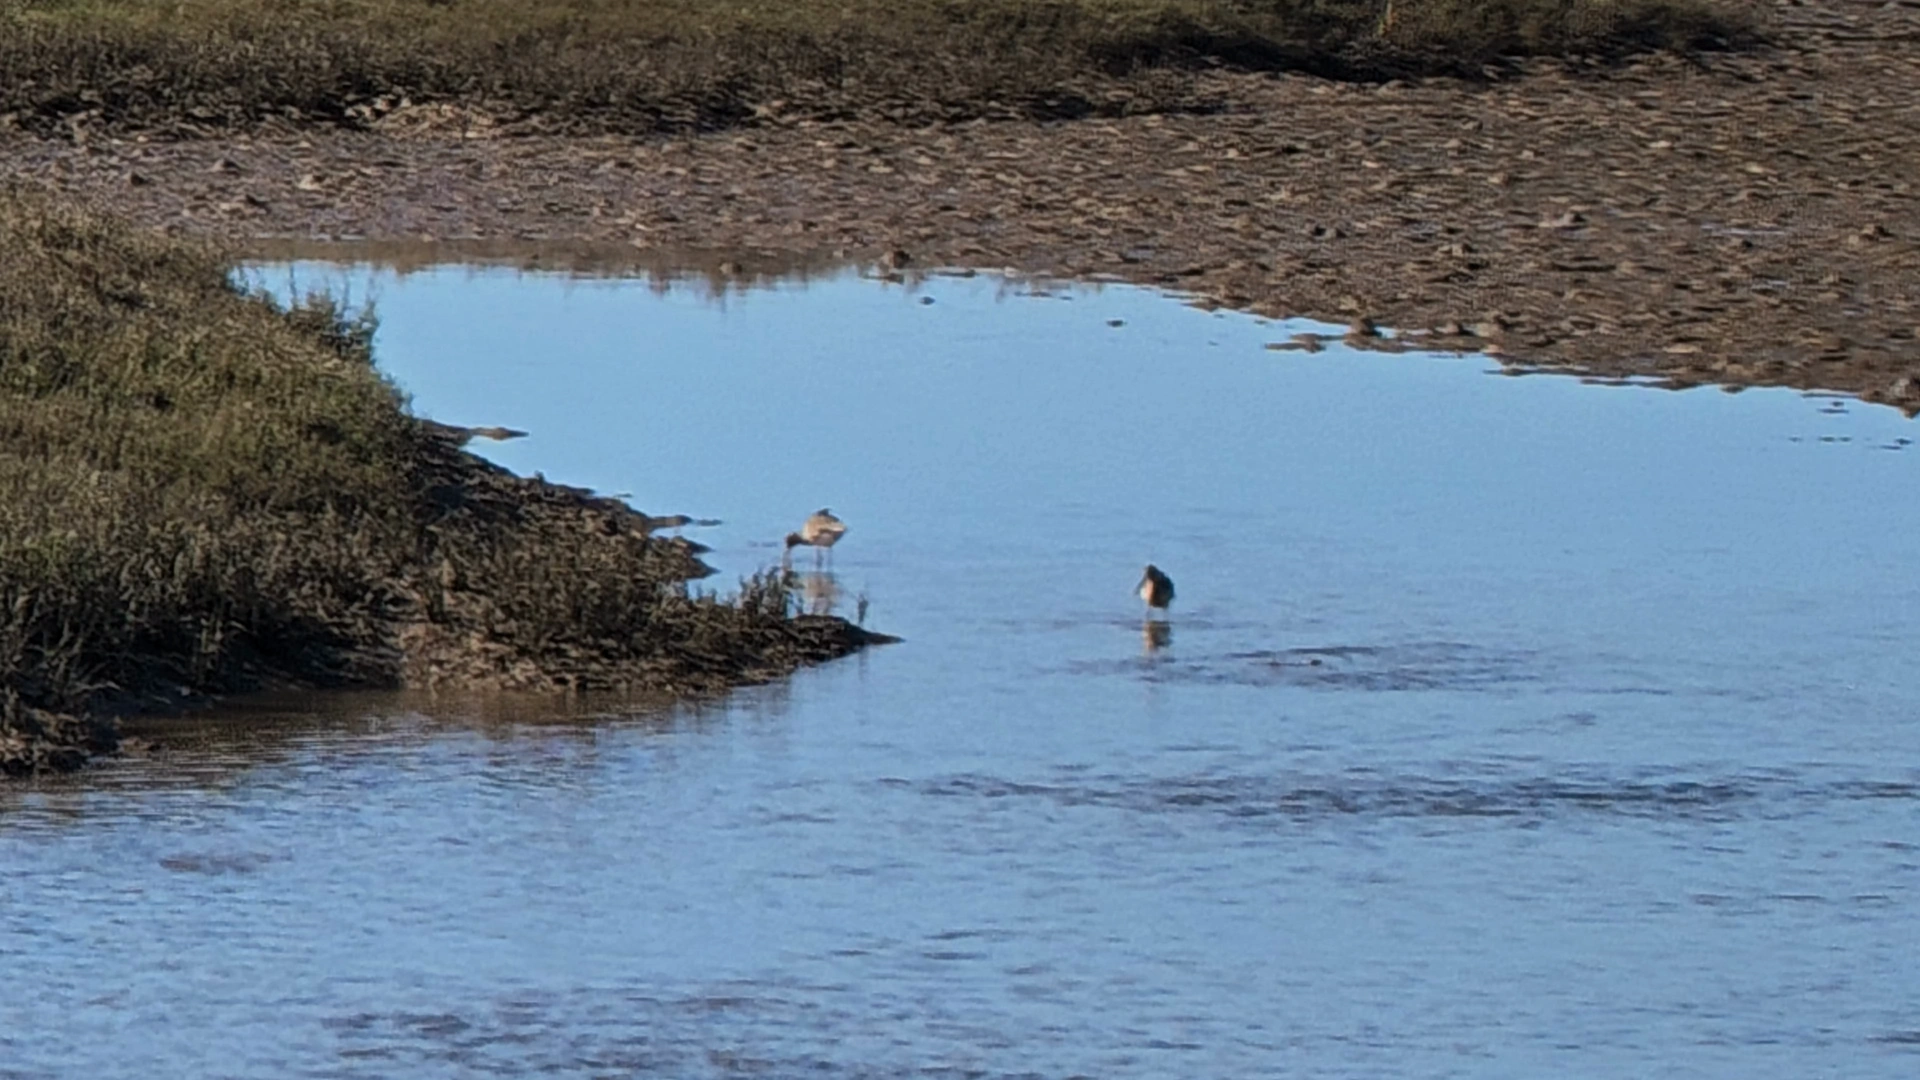
Two stills from the same video sequence, taken at different moments. Move the divider to compare the wide view and the zoom.
Stills from 4K30 video, telephoto lens mounted. The marsh at 4.5×, then the birds tightly framed in the same shot. Zooming out allows you to find their place in the landscape.
The stork on the roof
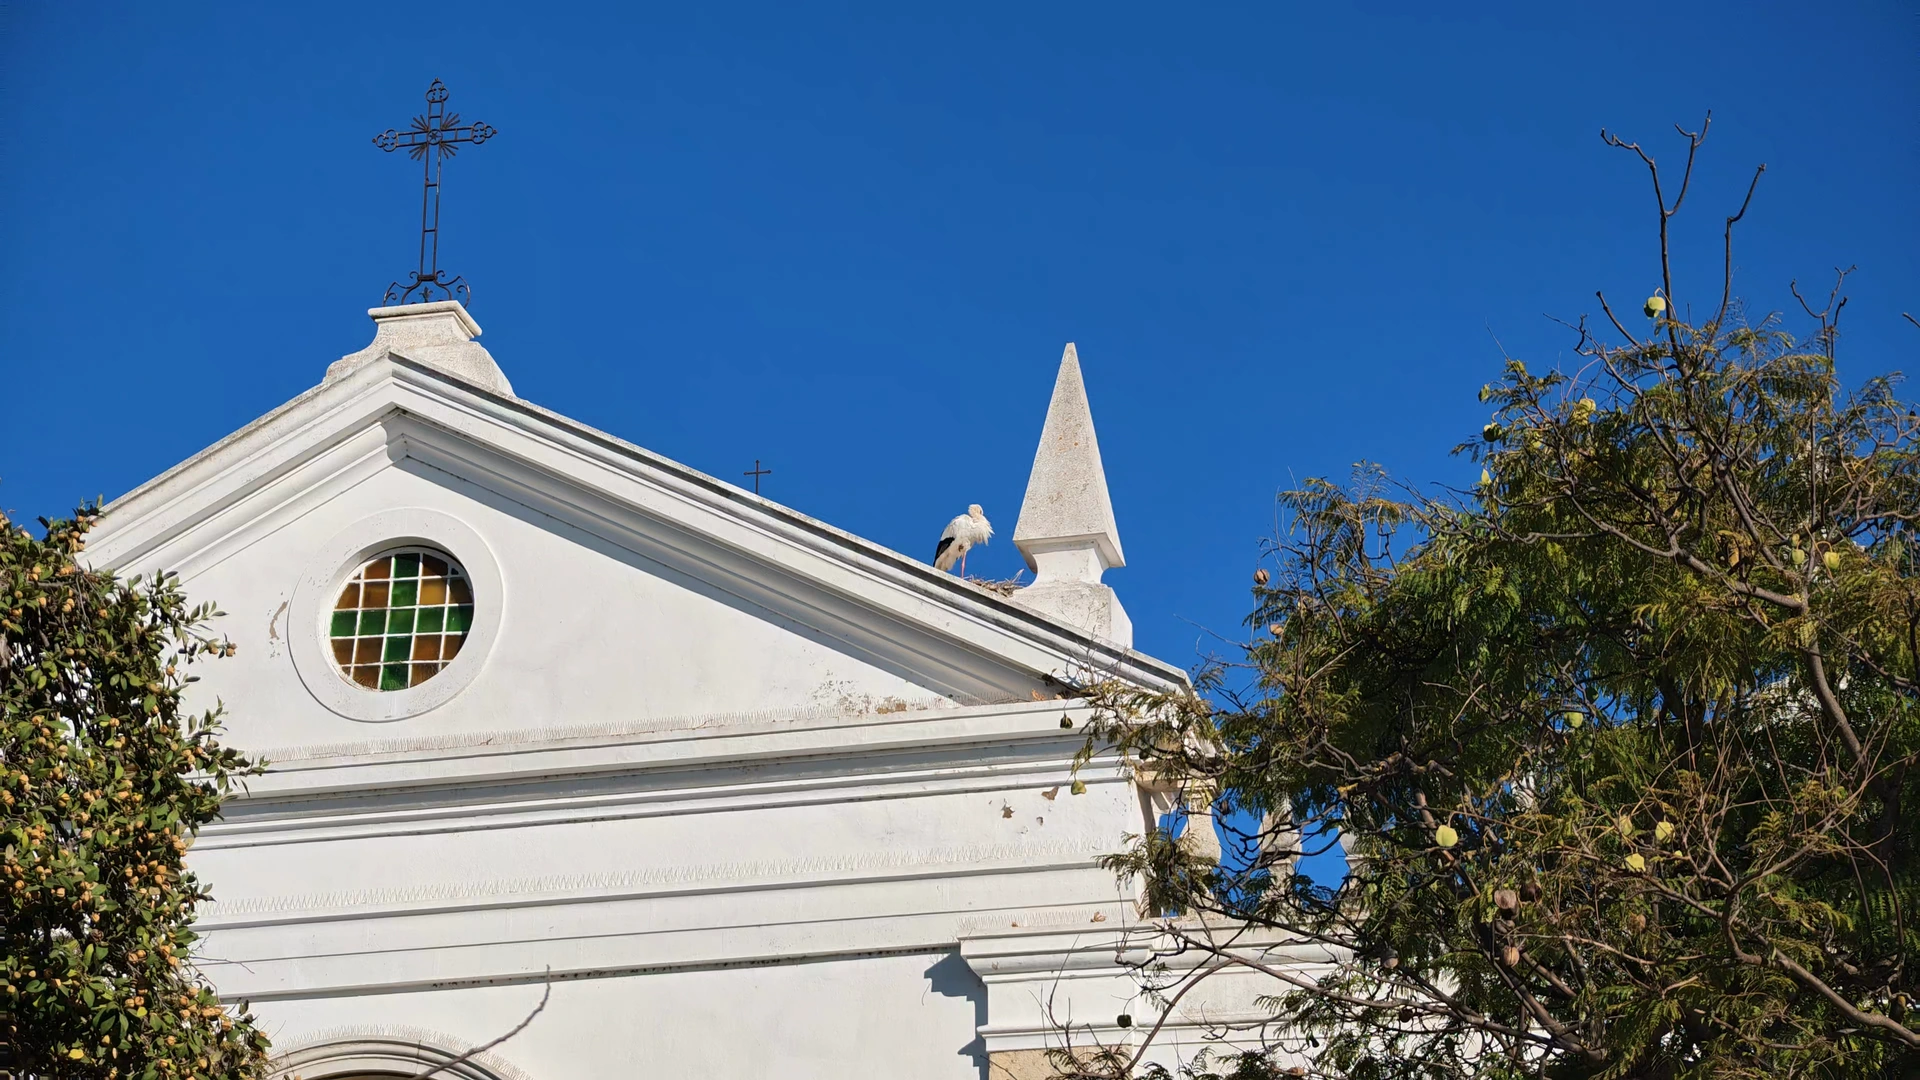
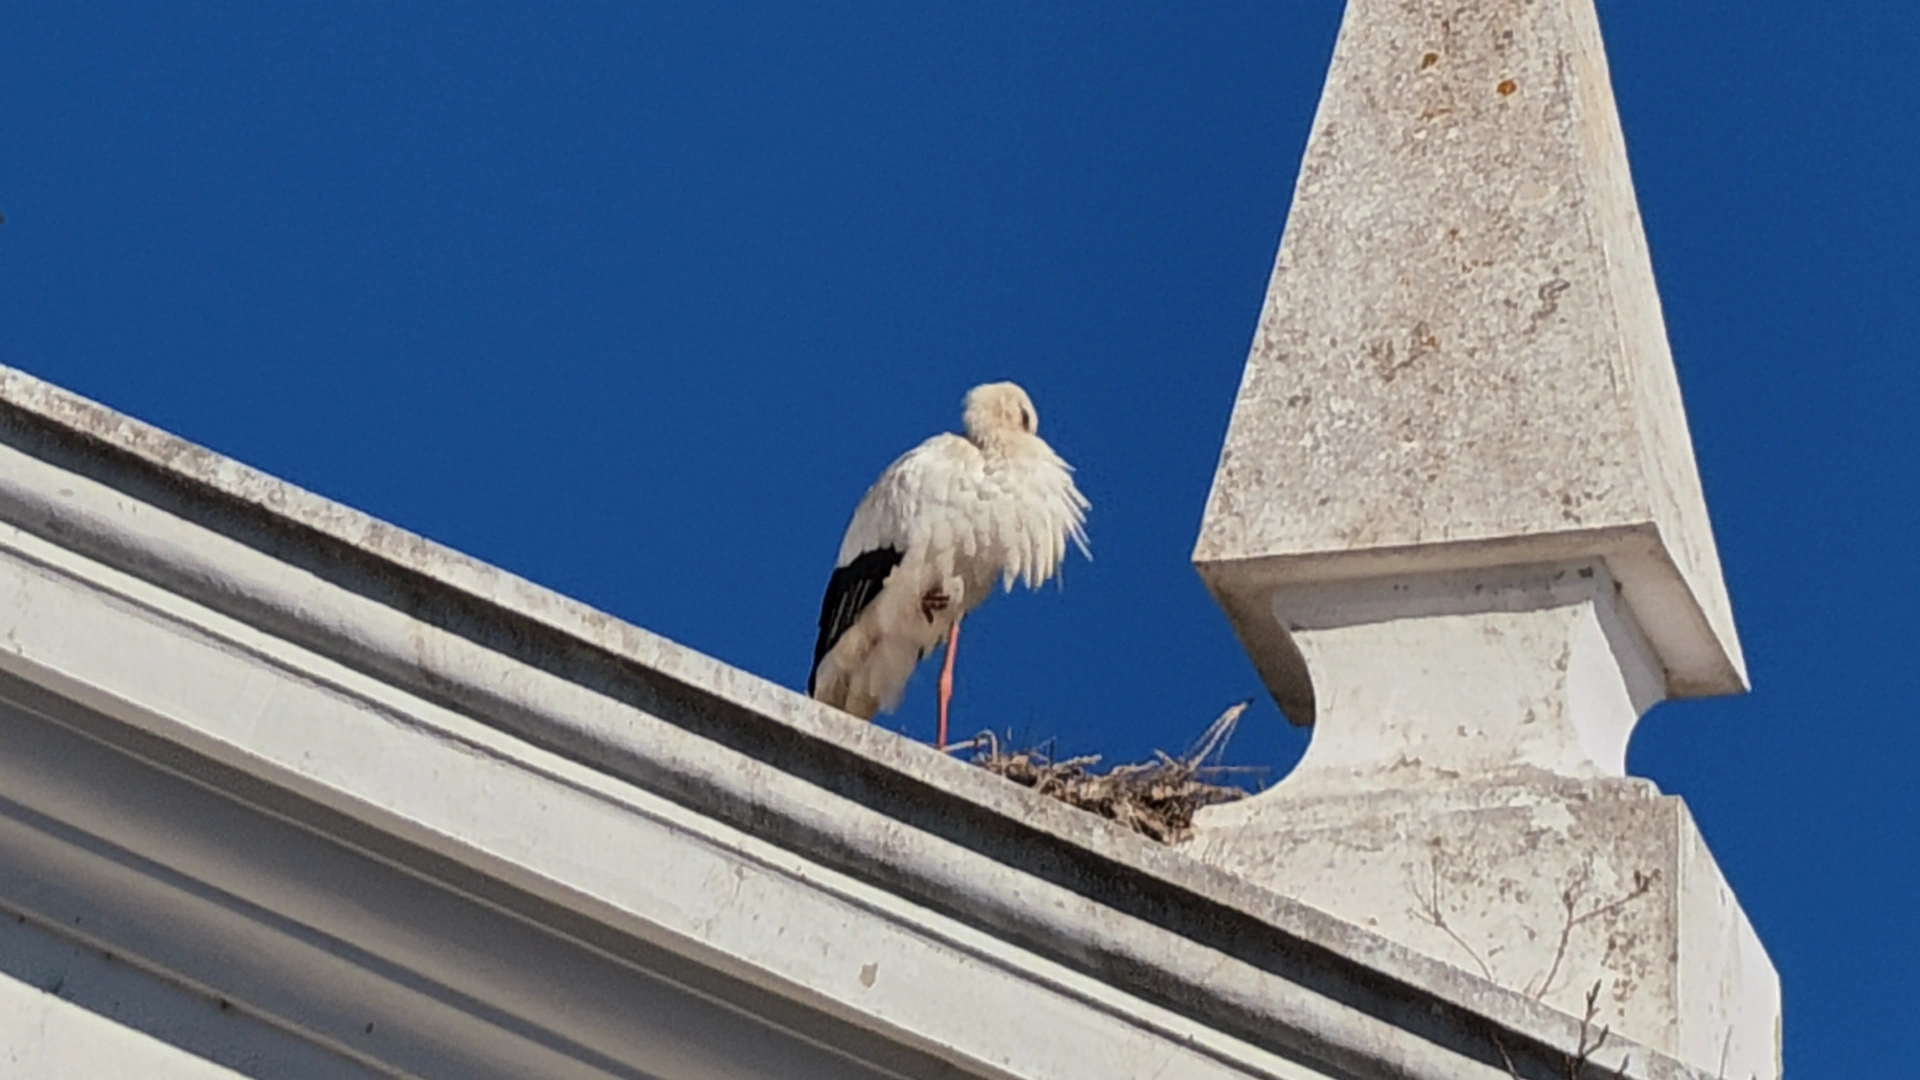
Two stills from the same video sequence, taken at different moments. Move the divider to compare the wide view and the zoom.
Stills from 4K30 video, with telephoto lens: the roof at 4.5× and the stork in the tight shot. These are two images extracted from the same sequence.
The compromise with the spontaneity of the Luna
What I like about this camera is this simple gesture: I take it out, and boom, I film. I find that discreet and quick aspect that I already explained in my review of the Luna Pro. The telephoto lens adds preparation: taking out the protection, installing the attachment, then remembering to remove it if I want to return to a wide shot.
And the loss of the wide-angle is constraining. If I want to go from a detail to an overview, the camera on its own gives me much more freedom. With the attachment, the widest framing remains at 4.5×. It changes the way to compose the sequence.
I see this telephoto lens more as an accessory for someone who has time to prepare their shots, for example, to add a few animal shots to what they usually film. With a specific subject and a camera on a tripod, the setup time seems more acceptable to me. In my usage, this preparation time costs me part of what I appreciate about the Luna: being able to record immediately what presents itself.
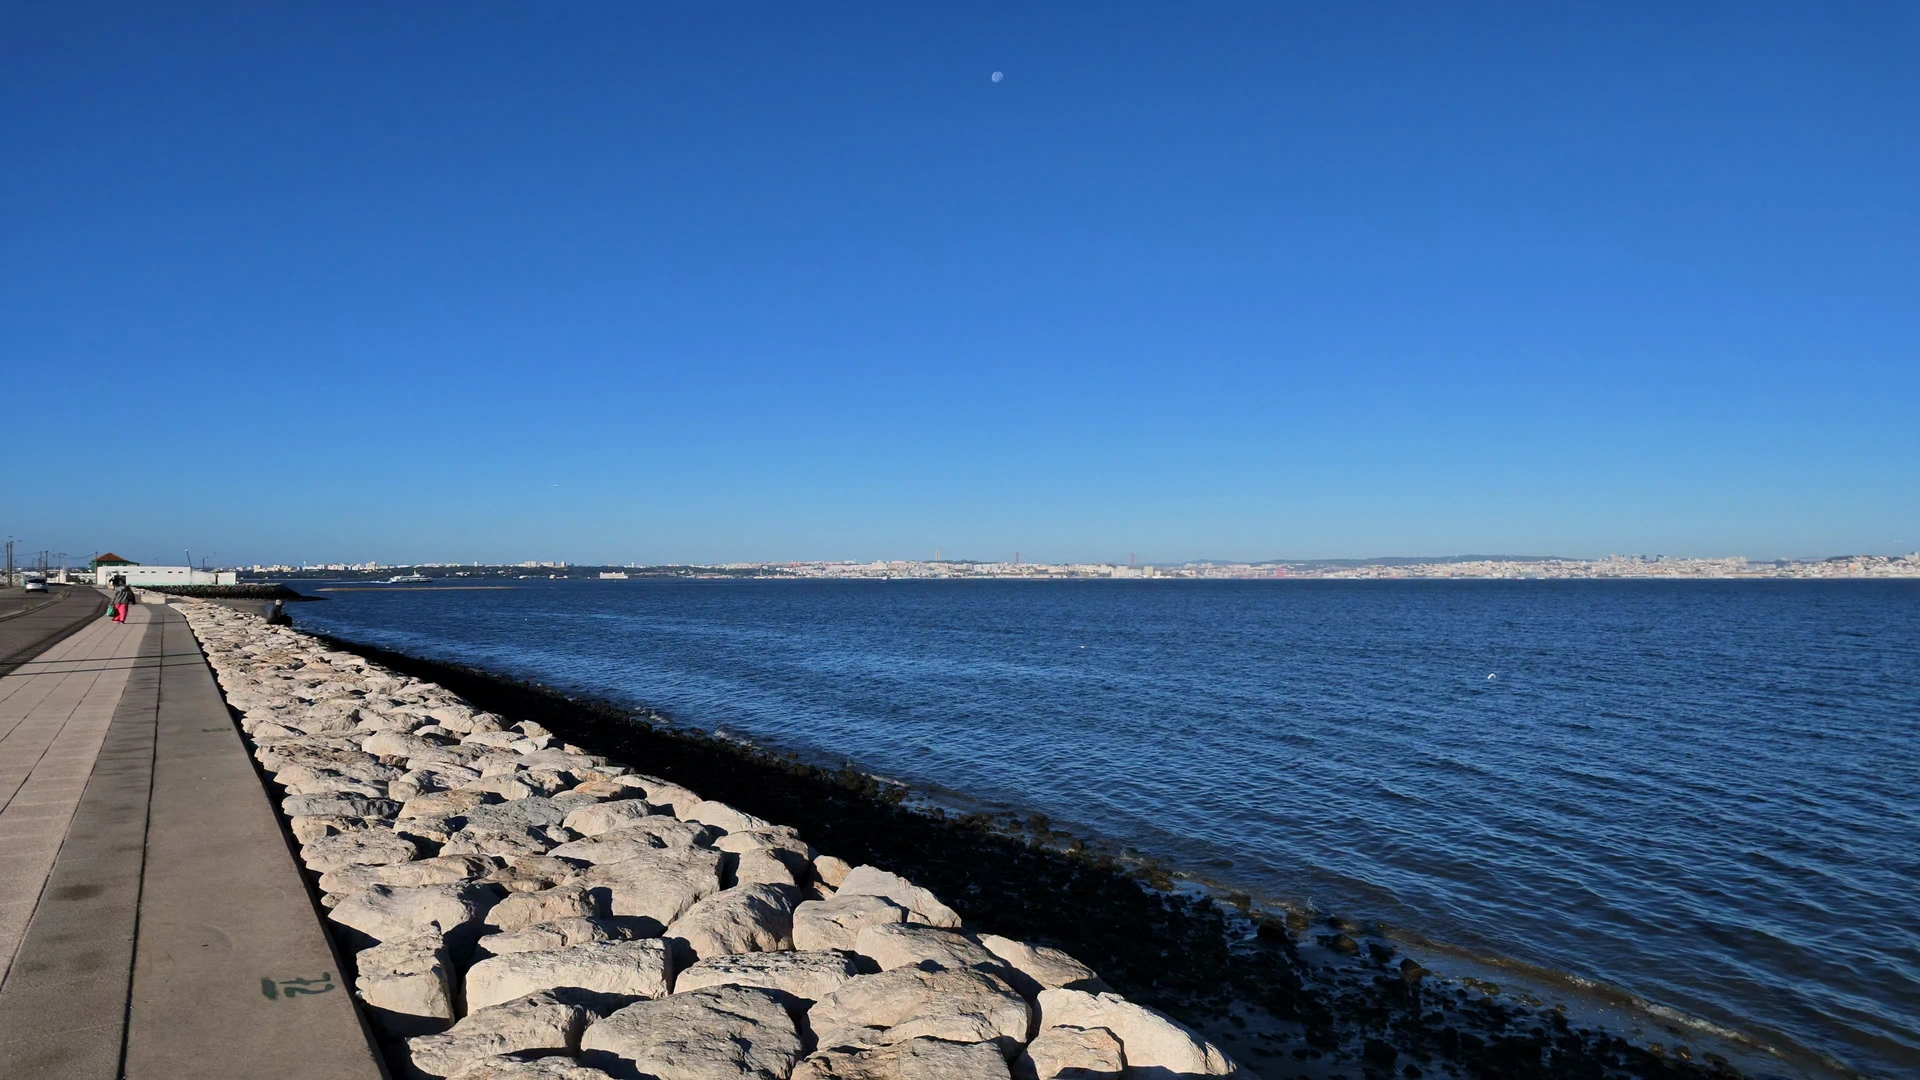
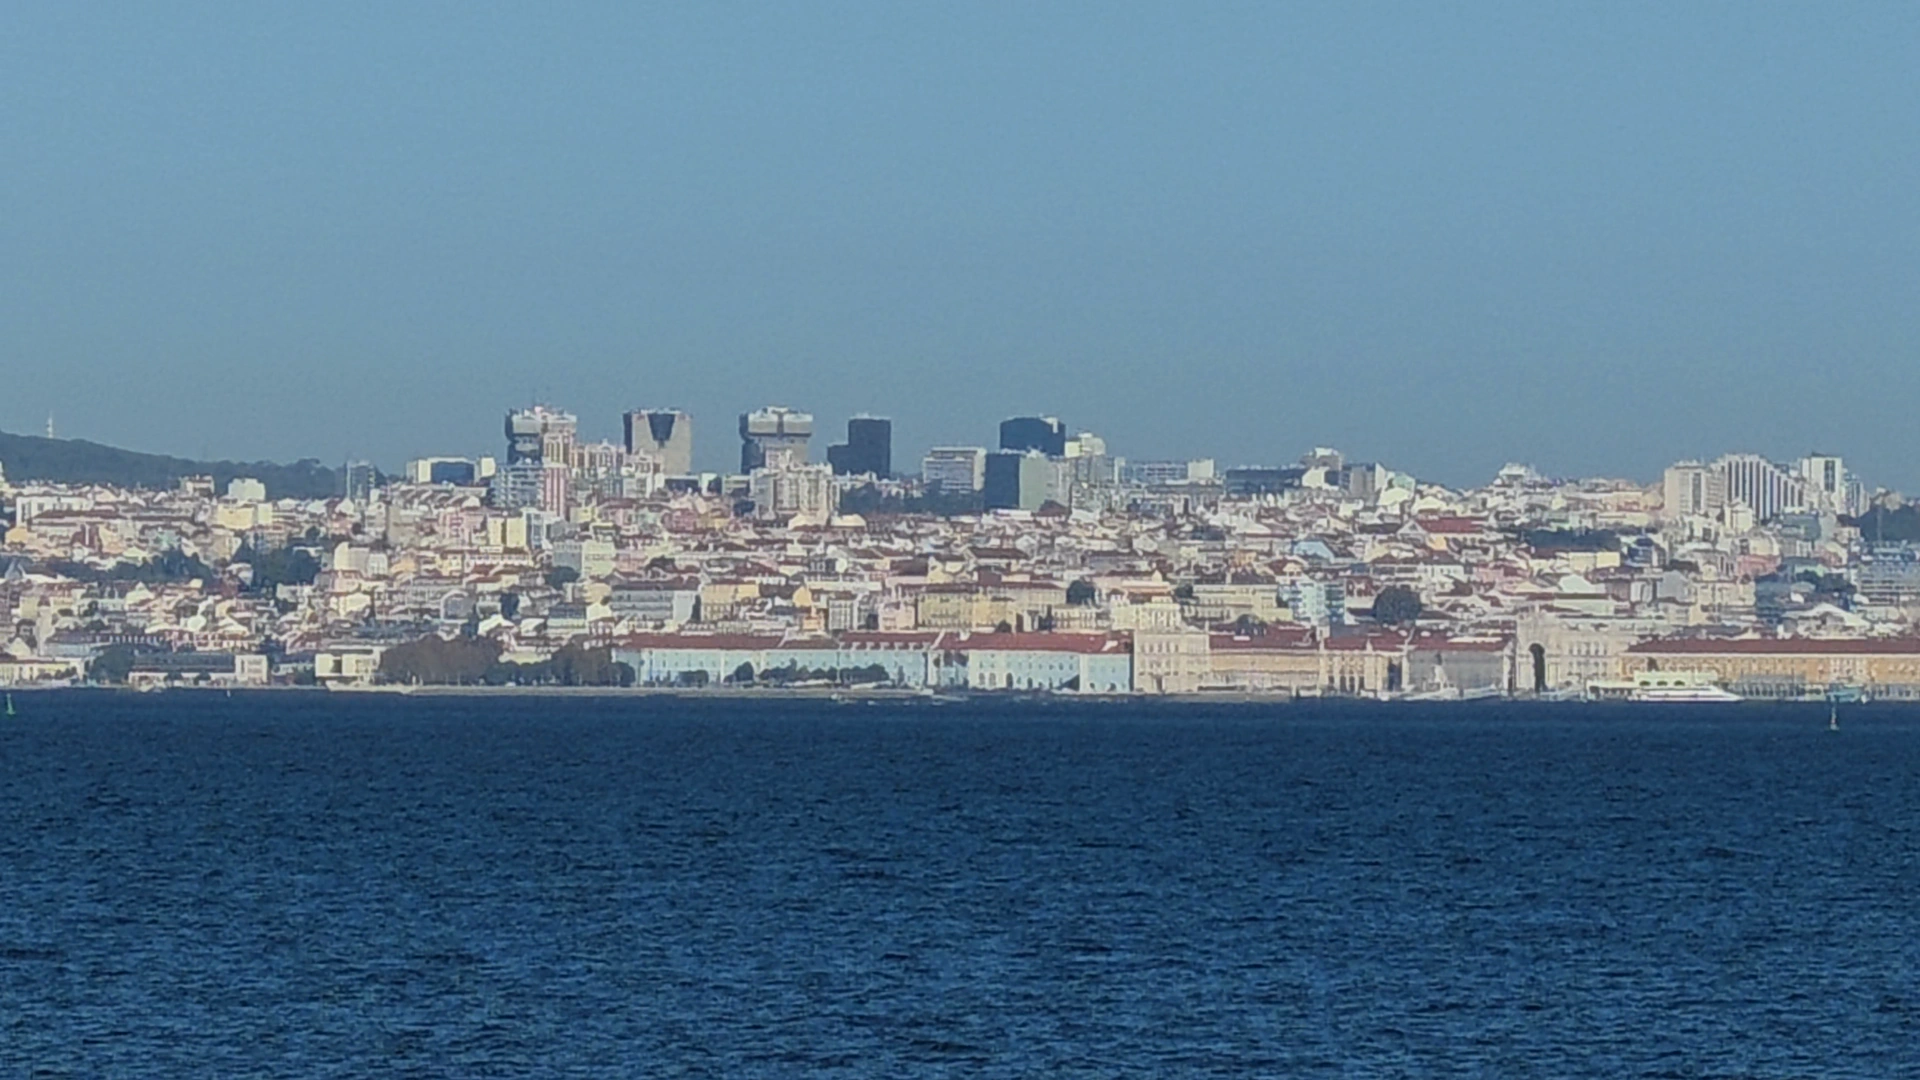
Two stills from the same video sequence, taken at different moments. Move the divider to compare the wide view and the zoom.
Another example in Stills from 4K30 video, without telephoto lens: the view of the bank at 1× and the buildings across at 15×, in the same shot. This freedom to switch from landscape to detail is part of what I love about the Luna alone.
The zoom-out of the camera on its own seems more spectacular to me
I also compared the full zoom movements. Personally, I find it almost more impressive to start from 1× and go up to 15× with the Luna alone, rather than going from 4.5× to 22.5× with the attachment.
This can be explained quite well: without the accessory, we go from a true wide view to a tight framing. With it, we already start from a tight frame, then we tighten it even more. The subject is enlarged more at the end, but the transformation of the landscape during the movement is less significant. For a travel sequence, I think this is noticeable.
Without telephoto lens: from the quay to Cristo Rei, from 1× to 15×
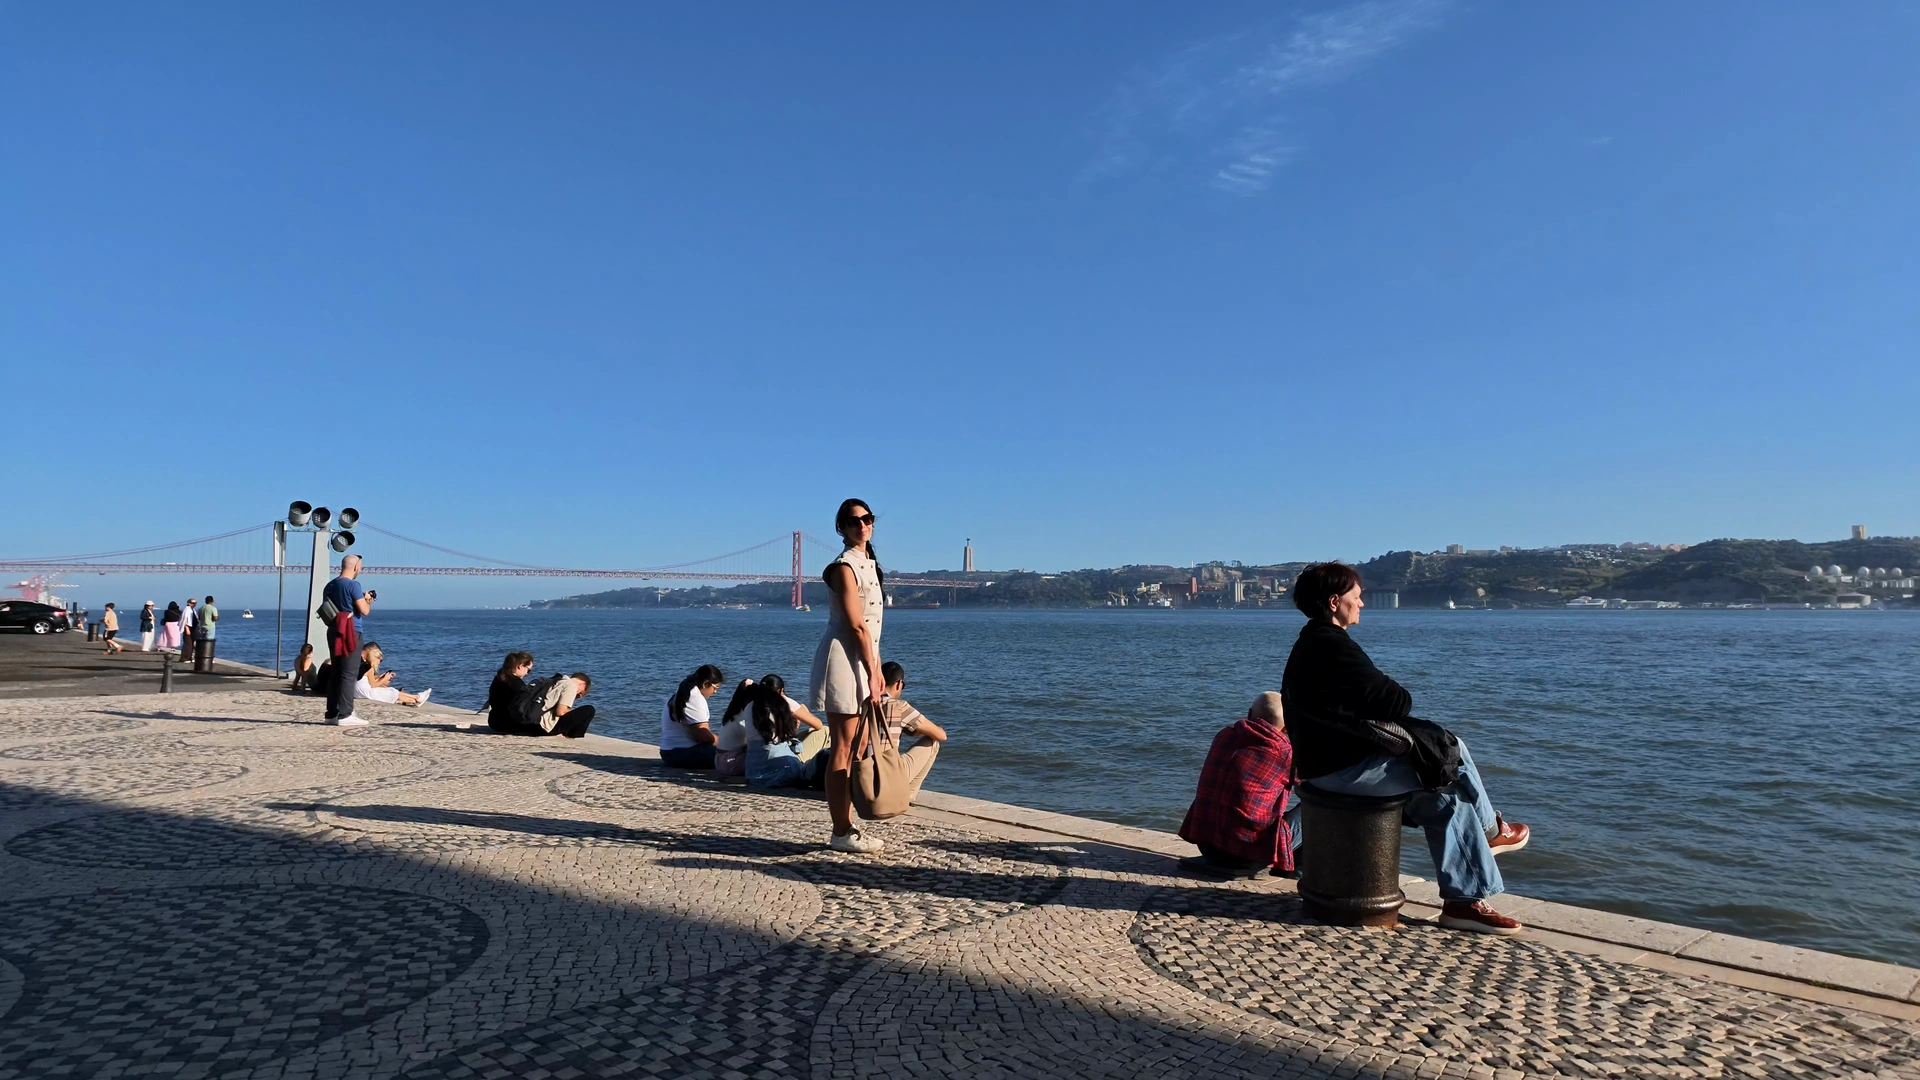
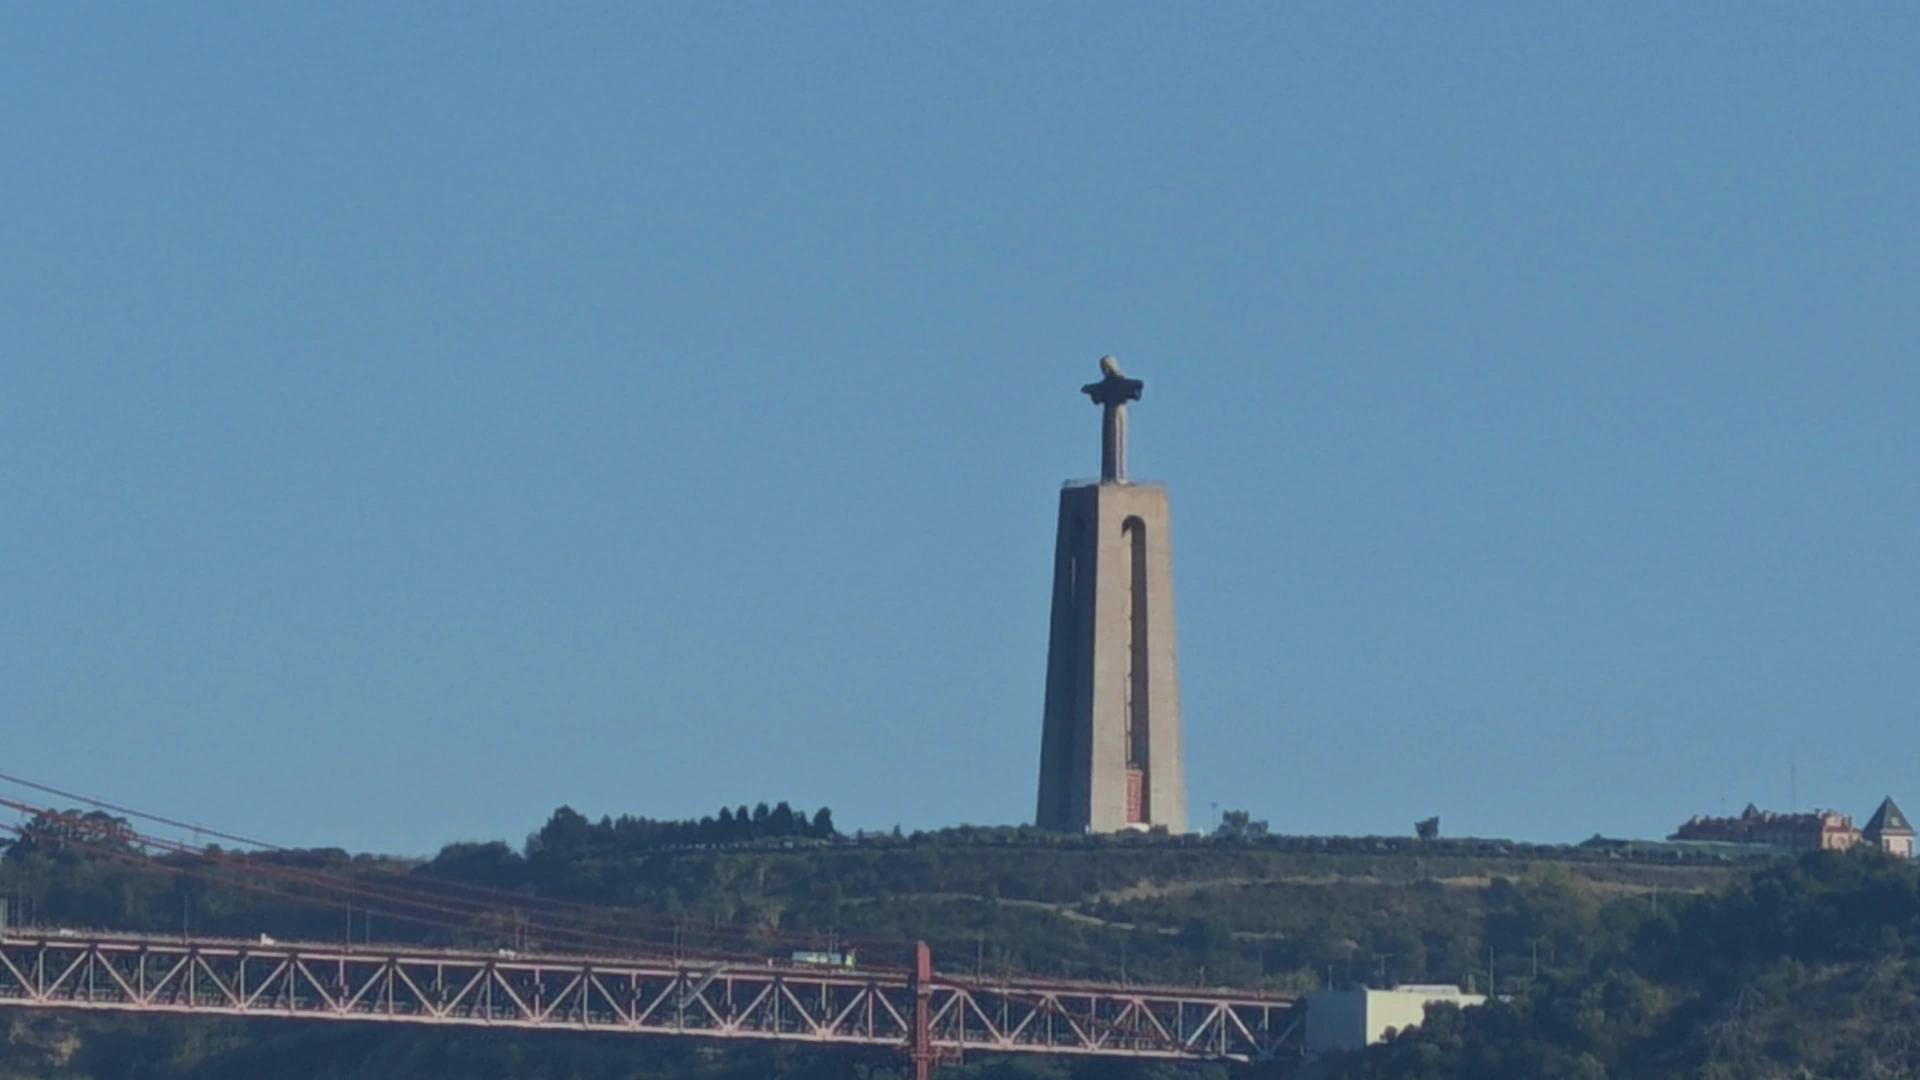
Two stills from the same video sequence, taken at different moments. Move the divider to compare the wide view and the zoom.
Stills from 4K30 video, Luna Ultra without attachment. At 1×, the quay and the bridge enter the frame; at 15×, Cristo Rei fills the shot. Both captures come from the same zoom movement.
With telephoto lens: from 4.5× to 22.5×
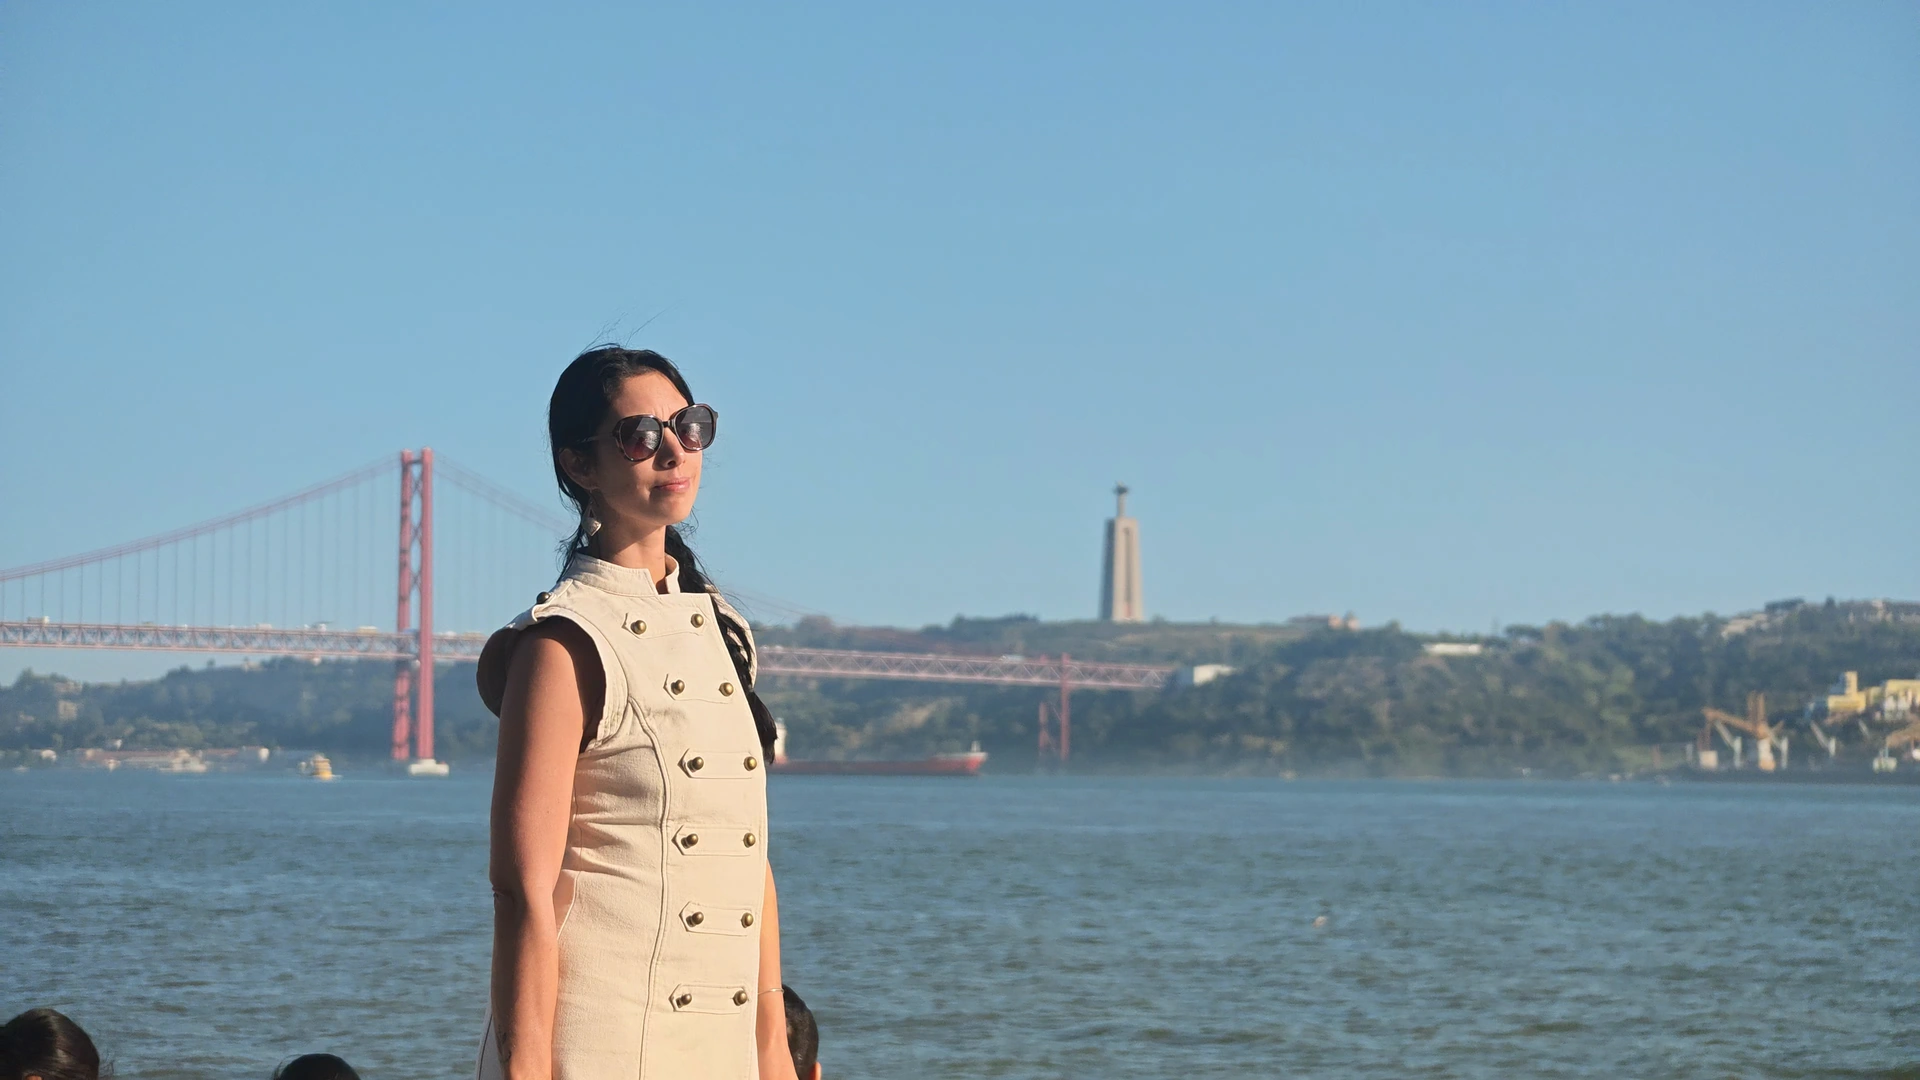
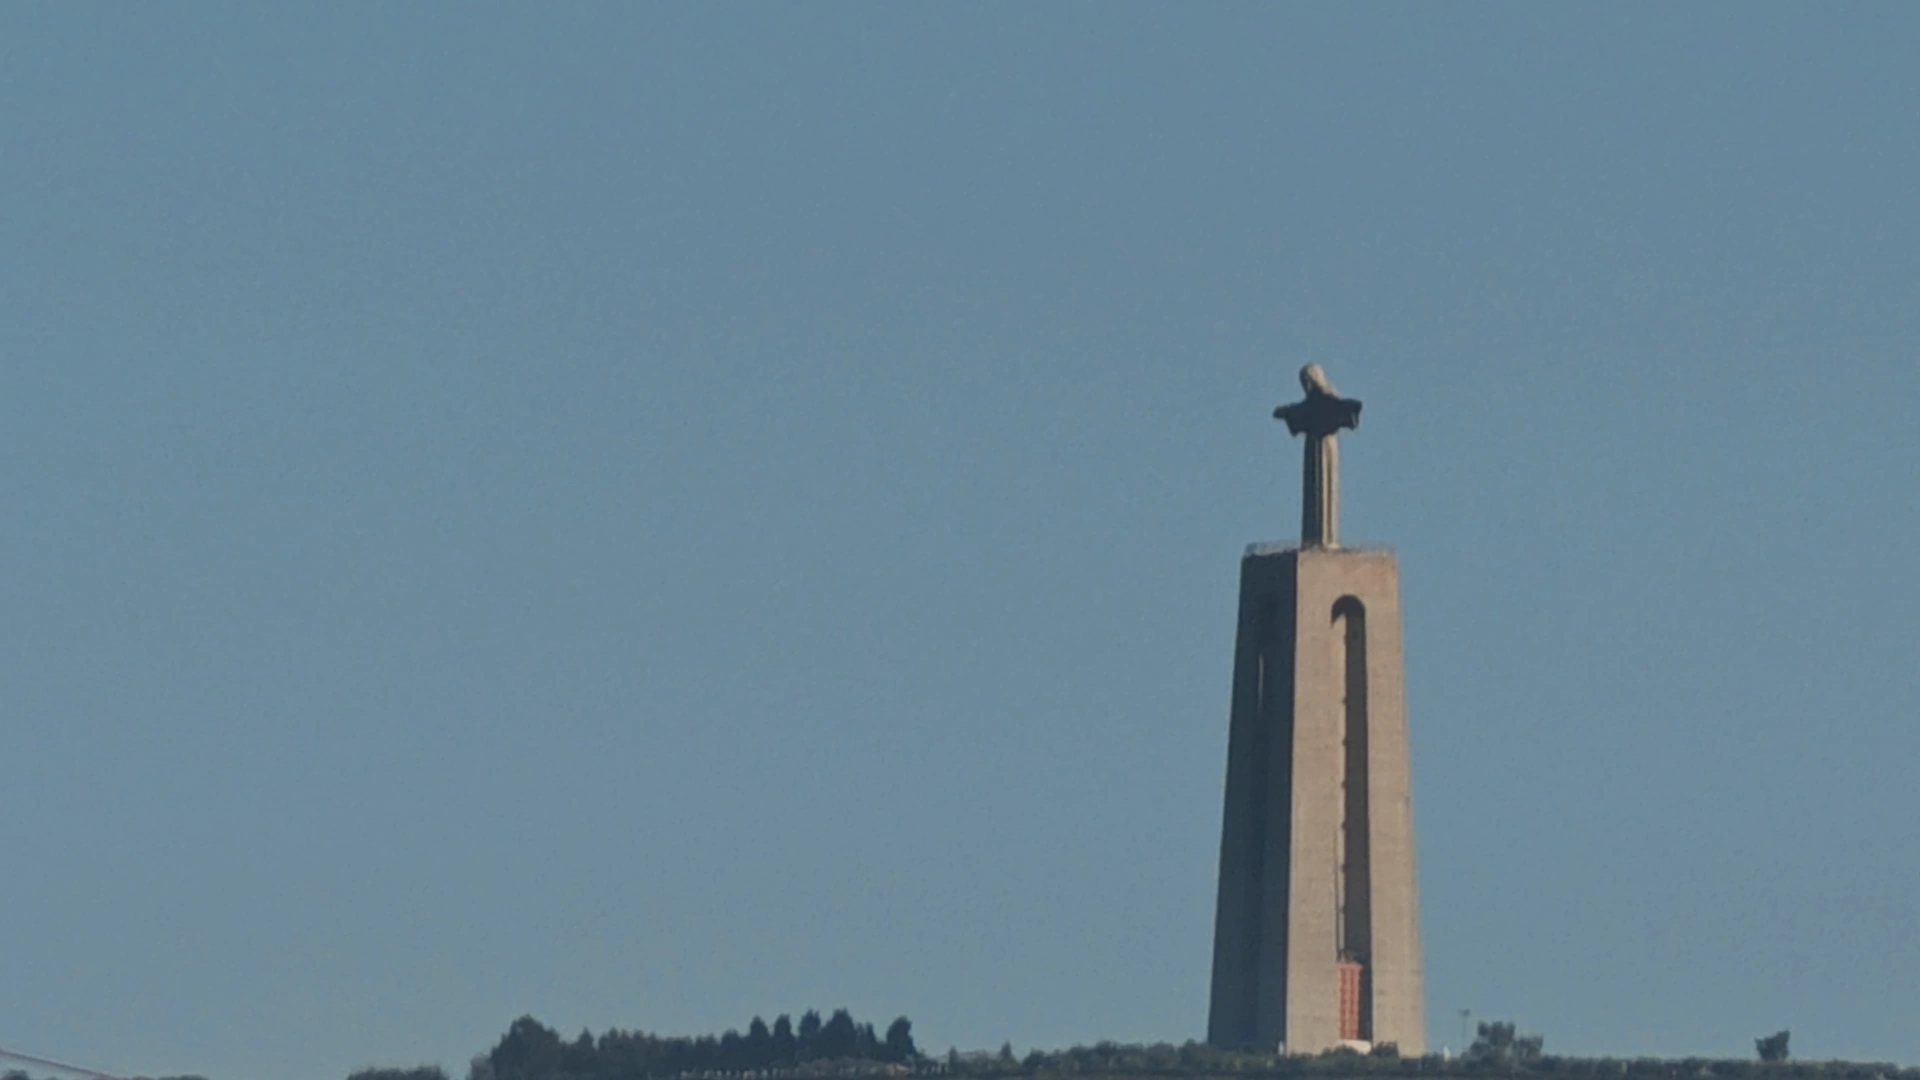
Two stills from the same video sequence, taken at different moments. Move the divider to compare the wide view and the zoom.
Stills from 4K30 video, telephoto lens mounted. The portrait and the bridge at 4.5×, then Cristo Rei at 22.5×. The starting framing is already tight and the monument becomes larger at the end.
These images retain the framing recorded by the camera. The light, atmospheric haze, and movements of the shot remain visible: this also gives an idea of the result obtained at these high magnifications.
The update also brings something without buying the lens
We need to talk about the update announced by Insta360 on 21 September 2026, because its improvements do not all come from the telephoto lens. The Luna Ultra alone goes from a maximum zoom of 12× to 15×, or from 240 to 300 mm in 35 mm equivalent terms. The optical attachment then raises this maximum to 450 mm.
The other change concerns video resolution in vertical orientation. The Ultra previously capped at 1728 × 3072 pixels in this mode. It now reaches 2160 × 3840 pixels up to 30 frames per second, like the Pro for this resolution cap. This does not mean that all features or image quality become identical.
During my test of the Pro, I had actually considered that an update of the Ultra could reduce this gap. So this is a point to keep in mind if you had read our comparison between the Luna Pro and the Luna Ultra before this evolution: the vertical-video resolution gap described at the time has now closed.
For our hands-on experience with both cameras and help choosing between them:

Insta360 Luna Ultra: two months later, our real field test
Our review of the Insta360 Luna Ultra, the all-in-one 8K Leica gimbal camera. Is it the best camera for traveling?...
Read the review
Insta360 Luna Pro: our review after the first shoot
The Luna Pro features the 1-inch sensor, Leica optics, and the gimbal from the Luna Ultra, minus the telephoto lens....
Read the reviewWhat I still want to try on a tripod
For now, I have only used the attachment handheld. I haven’t tried it on a fixed tripod with the separate remote control. Yet, this is a configuration in which I imagine it being useful: I position the camera, prepare the framing, and take the time to film a specific subject. That is still something I need to test.
I would also like to try filming the Moon with this telephoto lens, to see what it is possible to obtain. I haven’t done this test yet, so I have no images or conclusions to show you on this subject.
Reflecting on these prepared uses, I better understand the purpose of Stage mode around concerts and shows. You choose a subject at a distance and accept to set up your equipment to film it. This does not change the conditions of my current shots: I remained in regular Video and did not evaluate this mode.
My opinion on this telephoto lens for the Luna Ultra
I appreciated the more pronounced blur in portraits and the ability to frame animals that cannot be approached. If you have time to prepare these shots, I understand the desire to have this attachment in the bag. For quick shots, I prefer the camera on its own.
In my usual way of using the Luna Ultra, speed remains a priority. Having to take out and then mount a lens makes me lose time that I find precious. It also needs to be removed to regain the wide-angle. I therefore prefer the camera on its own when I want to film immediately, and I reserve the telephoto lens for shots for which I accept this preparation.
Insta360 Ultra Telephoto Lens: 1.5× attachment for Luna Ultra promo code
 In stock
Insta360 Ultra Telephoto Lens: 1.5× attachment for Luna Ultra
VANTOUR*
*Verified price on 2 November 2026. The final price may vary.
Tested first, recommended after
Batteries, solar, conversion, security. What we found after months of real use, and what we would not buy again. An email when we have actually tested something, not before.
Ce que vous souhaitez recevoir :